7 Keys to the Finis Jhung Ballet Technique

  1. The demi-plié is almost isometric. In both the downward and upward movements, the feet—rather than the knees—should initiate the movements. The feet grip the floor and pull the legs into the plié and then relax and push down to return the legs to the standing position. This also applies to pliés on one foot.
  2. Most dance movements are on one leg. What must be developed at the barre is the ability to balance on and move from one foot. Try to work at portable barre placed parallel to the mirror. Stand behind the barre, on the diagonal. This will allow you to keep an eye on your supporting side and encourage you to work correctly. Test your balance by frequently taking your hand off the barre during exercises. In addition, check your readiness to move. You should always be able to rise off your heel whenever you press down on the floor.
  3. The supporting leg controls the free leg, and initiates each movement. The timing of every movement is made by the supporting leg. The free leg (the foot that brushes or slides) never pulls or moves the body. Only the supporting foot that pushes the floor should move the body.
  4. In the center floor, every step you take must be balanced by an arm, or both arms, reaching in the opposite direction. At the barre, develop this sense of the “back arm” by reaching for the barre and pressing down it. Never pull on the barre.
  5. When you pirouette from the fourth position, be sure that you go to “the end of theplié.”
  6. A jump is a relevé in the air. Push the floor, stand in the air.
  7. Overcross the glissade précipitée, which leads into battement fondu developpé relevé, and jumping steps where the free leg is brushed into the air.

The Demi-plié & Your Feet

It is important to remember that the demi-plié in ballet dancing differs from the plié in contemporary dance. In ballet, our movements are usually upward, quick, and light—the dancer must rise from a plié into a pose, turn, or jump and therefore a high center of gravity is required. In contemporary dance the movements are usually horizontal or downward, and weighted—the dancer works with a low center of gravity since there are frequent descents into prone or sitting positions on the floor.

Please don’t relax your demi-plié during your barre exercises. When you have a deep relaxed plié, this will force you to pull yourself up out of it and in doing so this will tend to set you back on your heels and make you behind the music.

At the ballet barre, and as much as possible in center floor when working slowly, always remember you are going to do something with that demi-plié whether it be a pose, turn, or jump. Therefore, when you demi-plié in each exercise, initiate the plié by clawing the floor with your toes and gripping the floor. You want to connect with the floor. You want to feel the muscles in your toes, instep and ankle fully engaged. You are preparing the ball of your foot and your toes to extend, spread, and take all of your weight when you relevé. Make sure you feel a muscular connection from the tips of your toes to your hip—you are spring-loading your feet so that you can push down on the floor and propel your body upwards.

Start and end each demi-plié with your toes and you will improve rapidly. As much as possible (if music and the choreography allow), use this kind of plié in center floor before you pirouette as well as to initiate jumps from two feet.

Basic Ballet Check-up #2

TRY THIS: Stand sideways in front of the mirror in first position. Perform four 2-Count demi-plié-relevés as fast as possible (as though you are jumping) without tilting your pelvis, pumping with your head and chest, or pulling your toes under you. Rest a few seconds. Repeat the four relevés. Can you do it?

http://finisjhung.com/streaming-videos/fjbt-level-2-centerwork/

PLIE WITH STRENGTH

DEMI-PLIÉ WITH STRENGTH & CONTROL

The demi-plié is the preparation for, and the end of, almost every movement we make in ballet dancing. Therefore, it must be done with strength and control. This is the first and most important lesson I teach all students.

Get in front of the mirror and stand in a wide second position (at least two foot-lengths apart). Your body should resemble a triangle. You are going to stretch up through your head with energy that equals what you put into your feet and legs.

I don’t want you to relax into a picture position. Your knees will bend into the plié position because your feet are going to grip the floor and pull your legs.

To get the feeling of this, curl your fingers over each other. Now grip and pull as hard as you can without letting go. Can you feel the muscles in your fingers, hands, arms and shoulders?

Now do this with your feet to make your plié.

Your toes claw and your feet grip the floor, and slowly pulling your legs into the plié. Reach for the ceiling with your head. You should not see an abrupt drop in height or any jerky movements. Your knees are moving outward, but you barely see a downward movement. That’s because the energy you are using to stretch up is equal to the energy you are putting into your feet and legs.

You are stretching up the back of your neck and trying not to bend your knees. You feel a stretch in your hips as your legs move away from each other. You are pulling in your stomach muscles tightly. You are trying to keep your pelvis up.

The almost-isometric plié is hard work! You can feel that all of your muscles are engaged—from your toes through the foot to your ankles, the outside of your lower legs, your knees, your thighs, your hips, up the front of your body and the back of your neck.

It’s not how low you go; it’s HOW you go. What is important is that the plié begins and ends with your toes.

Now change your thoughts. You relax your feet and spread your toes. You are pressing down on the floor with your feet. Slowly, imperceptibly, your legs are in motion, and you realize you are standing as you began, in the triangle position.

The almost-isometric plié is an “invisible” movement. On count 1, you are standing with straight legs, and on count 8, you are in plié, but you never saw the downward movement. The ascending movement is also “invisible.” You are in plié, and eight counts later, you are standing in the triangle, but when did it happen?

Especially at the barre, try to make all of your pliés—large and small, two feet or one foot, slow or fast—almost isometric. Try to do this in center floor as well, tempo permitting. Then you will always have a plié which will enable you to move with strength and control.

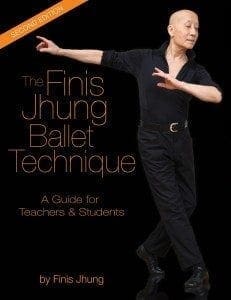
(Excerpted and REVISED from my book The Finis Jhung Ballet Technique: A Guide for Teachers & Students

To learn more about this idea, check out my newest barre videos – http://finisjhung.com/shop/ballet-barre-for-the-adult-absolute-beginner-2/ and http://finisjhung.com/shop/beginner-ballet-barre-2/


The almost-isometric plie – Part Three

2015-Catalog-Cover---UpdatedConcentrated work to develop this special plié is best done in the grand plié in a double-wide second position. Standing like this with feet far apart gives you a better idea of using energy that is equal and opposite.
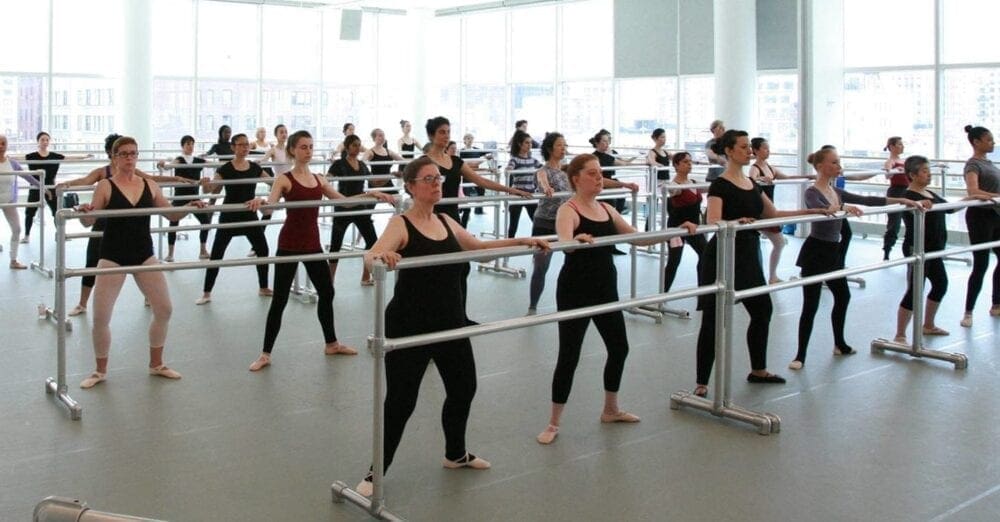
I tell the students that when they are preparing for the almost-isometric grand plié, they should resemble a triangle: the three points are the head, the right foot, and the left foot. Energy radiates outward from the center of the body through these three points. Energy up through the crown of your head resists the downward pull of your feet.

The almost-isometric plié begins at the floor. Your feet grip the floor in order to pull the legs into the plié position. Think of doing pull-ups when you are hanging from a barre; your elbows bend because you are pulling your body up. Or you can go to the wall barre and pull away from it (as you do my Kitchen Sink stretch). As you pull yourself toward the barre, your elbows bend. The almost-isometric plié works exactly like this.

In the upward movement of the almost-isometric plié, there is no deliberate “pulling up” of the body and straightening of the knees.

You relax your feet, spread your toes, and push down on the floor.

Think of doing a push-up on the floor. As you push the floor, your arms slowly straighten and bring your body up. In the same way, when you are in this plié, you press down on the floor and continue to do so until your legs return to the standing position.

Learning to do all of your pliés like this will build a path of energy from your toes to your head and enable you to move with power and grace.

Here are some important keys:

  1. The plié is the cause that creates an effect.
  2. The plié is a verb, not a noun. It’s an action, not a position.
  3. The plié always has to be “worked.” It is never a relaxed movement unless you are told to do so for stretching purposes

(To be continued. Excerpted from my book The Finis Jhung Ballet Technique: A Guide for Teachers & Students
Be sure to check out our Guidebook Packages


The Almost-Isometric plié – Part One

If you are going to pirouette, you usually begin from a plié in fourth or fifth position. If you are going to relevé to a pose, you begin with plié on one leg, or fondu. If you are going to jump, there’s a plié before and after. We can’t dance without the plié.

The demi-plié initiates and completes almost every movement we make. Consequently, the plié is the most important and the most difficult movement to execute properly. The plié is ballet.

My first serious ballet teacher, Willam F. Christensen (affectionately called Mr. C.) often said, “You know, your legs bend, and they straighten. They bend, and they straighten. That’s it.”

How right he was. Adding on to Mr. C.’s straight talk, I teach pliés emphasizing how the legs bend and straighten. It is important for students to grasp the mechanics of the plié so that they will strengthen their feet, legs, and bodies as they work.

When you dance, you

  1. bend your knees so that you can
  2. push the floor with your feet, which will
  3. cause you to either stand with a straight leg on a flat foot, on relevé, or leave the floor and spring up into the air as you
  4. execute a balance, turn, or jump.

We all want to have a plié that will power us strongly and safely as we begin and end our movements. With correctly executed pliés, we can dance with ease and avoid injuries to the feet, ankles, and knees. – To be continued. Excerpt from “The Finis Jhung Ballet Technique: A Guide for Teachers & Students”

Pirouette Problems Again

In class today people fell off their pirouettes because they chose to close their arms and turn their bodies instead of using their arms to reach “The End of the Plie”, push down with the supporting knee past the toes, and spot. They kept forgetting they could not turn faster than they could fall.

PIROUETTE EN DEHORS: Working your feet

Every movement you make should be powered by the action of your feet (or foot). In terms of preparing for the pirouette en dehors from the fourth position, keep the following in mind:

  1. Your supporting foot grips the floor in order to bring the body and legs into place for the preparatory pose and the plié.
  2. Your supporting foot grips the floor in opposition to the upward stretch of your head. This engages and connects all of the muscles in your supporting leg from the toes to the hip. How can you expect to line up your  leg bones properly unless you engage the muscles that move them?
  3. Your supporting foot grips the floor in order to bring all of the weight of your body into it.
  4. Your supporting foot grips the floor and determines the placement of your back foot.
  5. Your supporting foot pushes down on the floor so that you relevé and turn on a straight leg.
  6. When your back toe leaves the floor that is when you turn your head and spot.

FJ_DVD_WALLETExcerpted from my book The Finis Jhung Ballet Technique: A Guide for Teachers & Students

Guidebook

Lift & Kick versus Reach & Push

As you dance forward across the center floor with a battement fondu developpé relevé, it’s a good idea to remember how Gail Grant defines it in “The Technical Manual and Dictionary of Classical Ballet”: “As the supporting leg straightens, the dancer rises to the demi-pointe and performs a developpé at 45 or 90 degrees.”  Sadly, many ballet students execute this step backwards: First they lift and kick the developpé and then use that momentum to lift the supporting heel and pull the supporting leg straight. This pulls your weight away from the supporting toe, looks jerky, and makes you look clumsy.

Here’s how to look better: Reach forward as far as possible with what will be your supporting leg. Point that foot strongly. Correctly align that foot so that it will be under your body on half-toe. Press down firmly on the floor with the ball and toes of your supporting foot. This will make you rise to the half-toe on a straight leg. As you push down and rise, the back foot will automatically be brought forward—it will follow your supporting foot—and then you will complete the developpé. Always time your movements with the transfer of weight to the supporting foot and leg.

Get On Your Leg & Dance!

Don’t pull up. Push down!

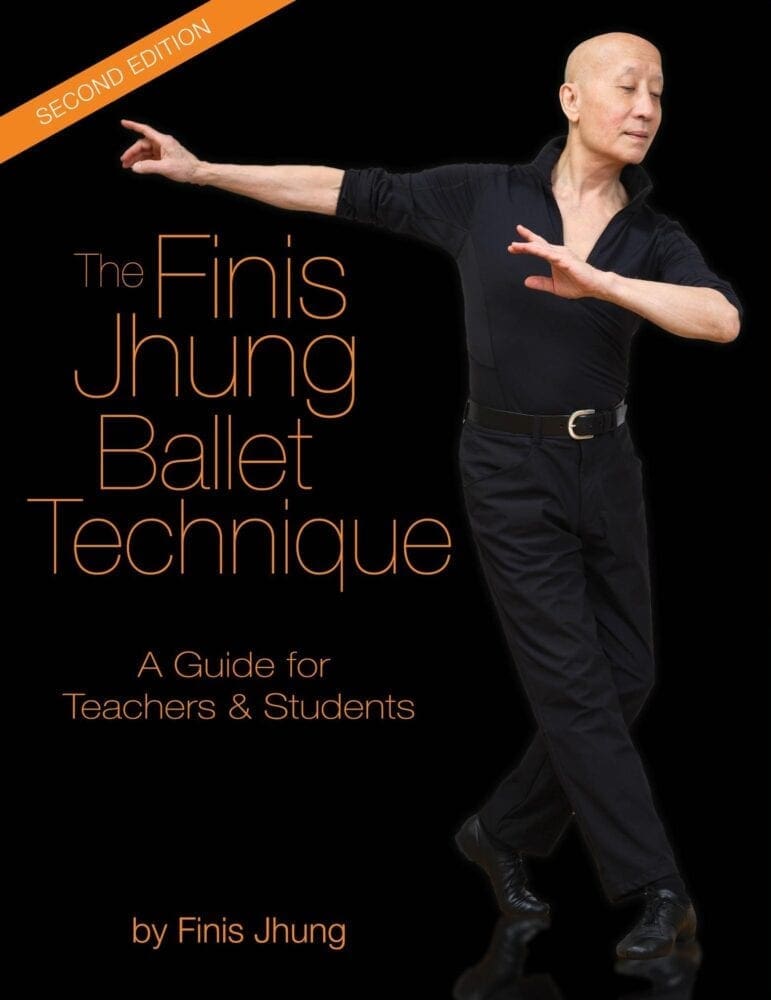
You’re always stretched up and standing tall in Number 1, but when you plié-relevé there is a distinct difference in how you move and look according to the way you do it. Here’s how to get the feeling of making your plié relevé correctly.  Stand in front of a wall, arms-length away, place both hands on the wall, and lean in so both elbows are bent. Slowly push yourself away from the wall. Your elbows straighten because you push the wall. Continue pushing until your hand leaves the wall and you are pushing the wall with just your fingertips. In the same way, your legs straighten when you relevé because you are pushing down on the floor. Driving down in order to go up—pushing down to relevé—instead of trying to pull yourself up—sends your weight down into the floor and gives you better balance and fluidity of movement. Try it.