Adult Babies Down Under

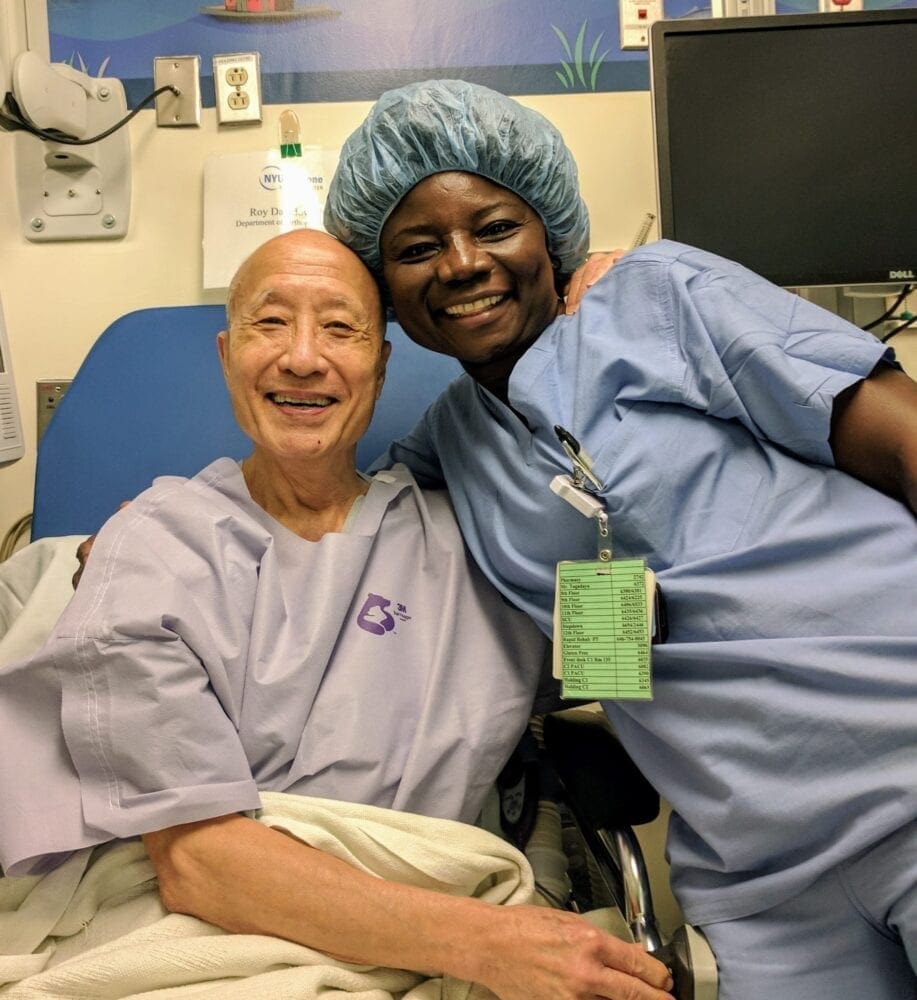
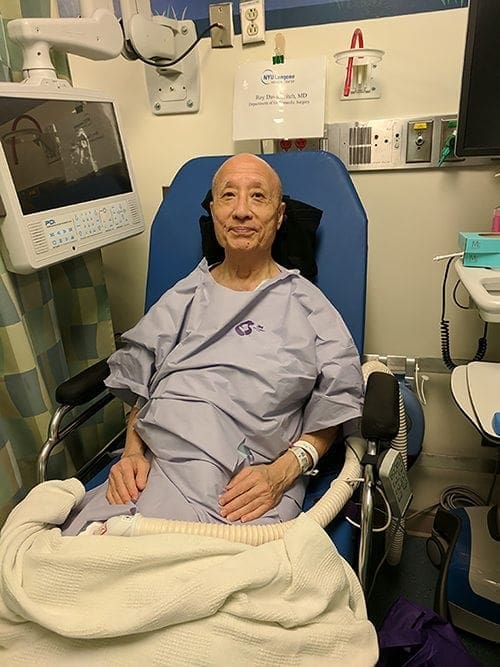
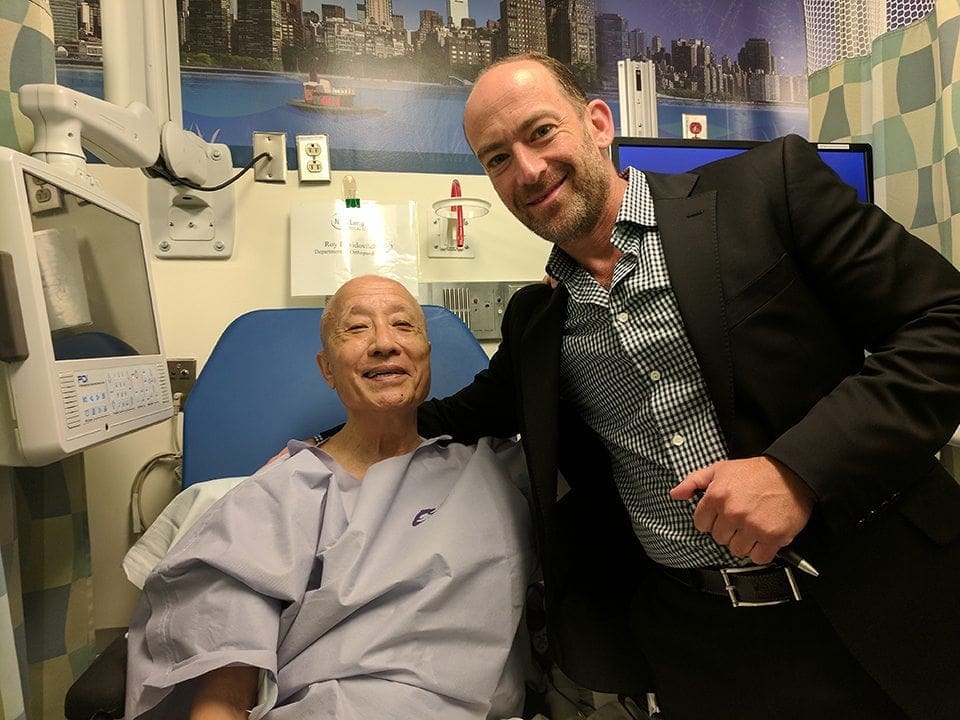
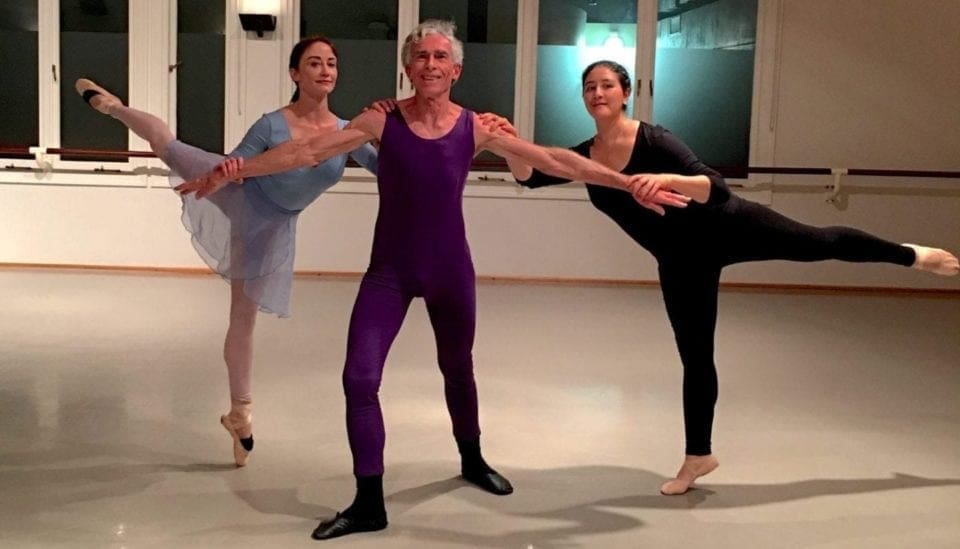
Pictured above: Russell with two lovely partners, Claire and Christina.

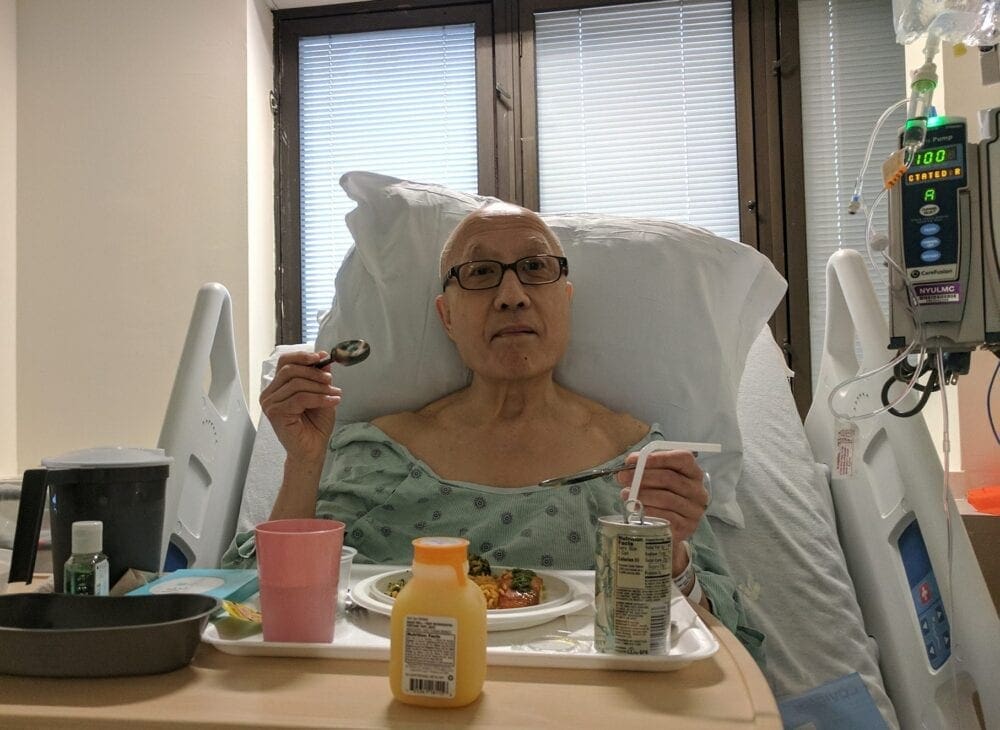
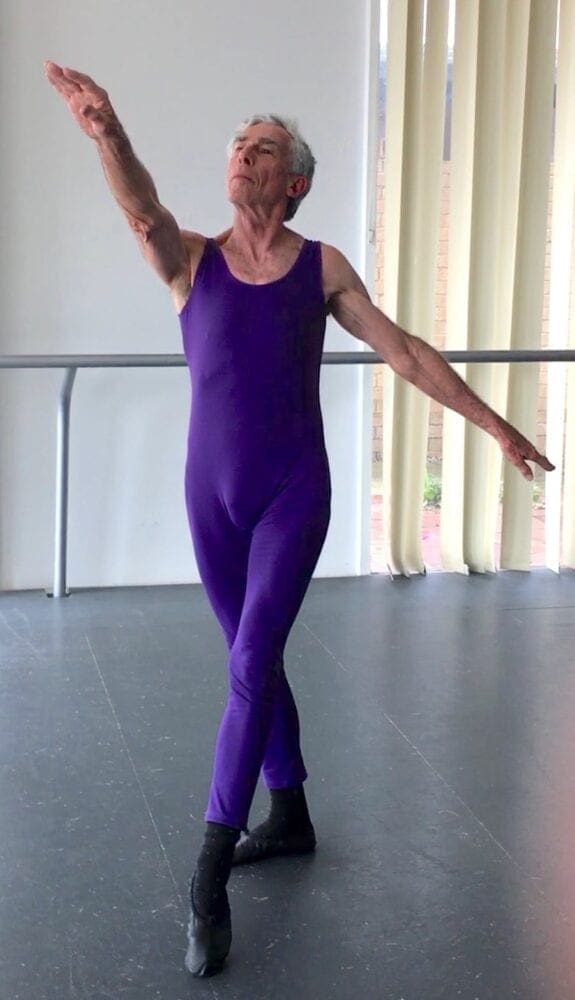
I call my adult students my “ballet babies” because, like young children, they are so eager to learn, are “pure” in that they have no pre-conceived notions, and dance as if there is no tomorrow. Some of my babies are teachers and students who live in Australia. Some have attended my workshops; all use my videos and music; and most have my memoir Ballet for Life.  Russell Merriman lives in Bicton, Western Australia, and began studying with my streaming videos this year.

In his own words…

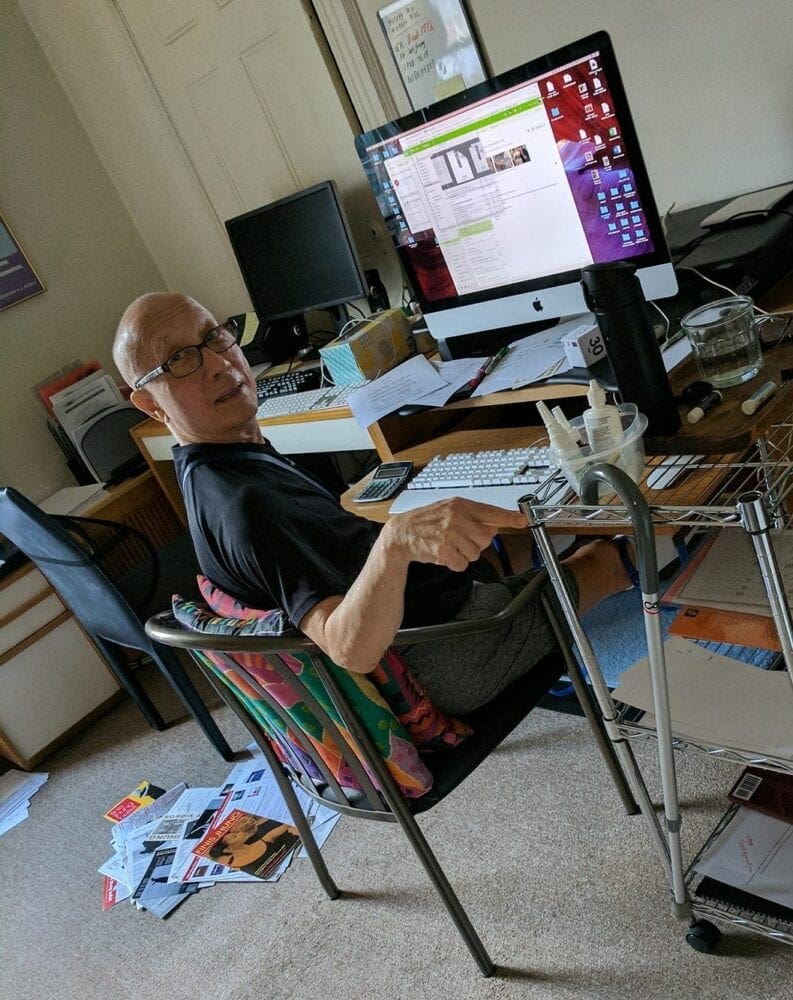
Streaming from Perth Western Australia is phenomenal. It is simple to log on and there are no delays in finding my videos. I am a ‘mature’ student. I turn 75 years of age on July 19. My ballet has improved dramatically since I started using your streaming videos. I have started pas de deux and my partner who was a professional ballet dancer thinks that I am a ‘natural.’ I purchased your Partnering Techniques DVD.

My first dance technique was contemporary dance. While a student at Flinders University of South Australia I attended a week-long workshop at Australian Dance Theatre in Adelaide. I was aged 30 years and very stiff and inflexible. I was excited when, at the end, we performed a dance to the song of Buffy Sainte-Marie: God is alive, Magic is afoot. How prescient for my life!

I then joined a small group of dancers at Flinders University and after we performed, I was ‘hooked.’ I moved to Perth in 1974 and commenced contemporary dance classes with Ruth Osborne, wo taught the Graham Technique. After I turned 40, I found an introduction to ballet of eight free classes. After discovering pirouettes I never stopped.

Around the same time, I joined the Keszkeno Hungarian Dance group. I was mesmerized by the athleticism of the male dancers and remained with the group until 2016. We performed at concerts in Sydney, Melbourne, Brisbane, and Hungary. I had to stop Hungarian dance as an old ankle injury couldn’t cope with the stamping.

I continued ballet classes, and my first brief ballet performance in October 2017 included a ‘mini’ pas de deux which introduced me to the delights of partnering.

I am indebted to Heather Callander who has been my teacher for over 30 years. She told me about the videos of Finis Jhung which allowed my enthusiasm for ballet to expand. She uses his concepts in her teaching. Justin McNamara has been instrumental in his beginner classes in teaching me the fundamentals of posture and balance. Justin says he ‘Really found it so helpful the way Finis explains the way to approach teaching the use of arms for beginners in classical ballet and the example for pirouettes of the kids toy where to make it spin you push down to make it turn.’

I have found that the secret of ballet is that it is anti-gravity as the movement is all UP. This lengthens the spine and frees up space in the joints. Obviously this counteracts the normal effect of aging where people ‘shrink’ and their body contracts. The change in one’s posture from ballet can be dramatic (mine has) and it results in new breathing patterns. So, like Finis, I will never give up.

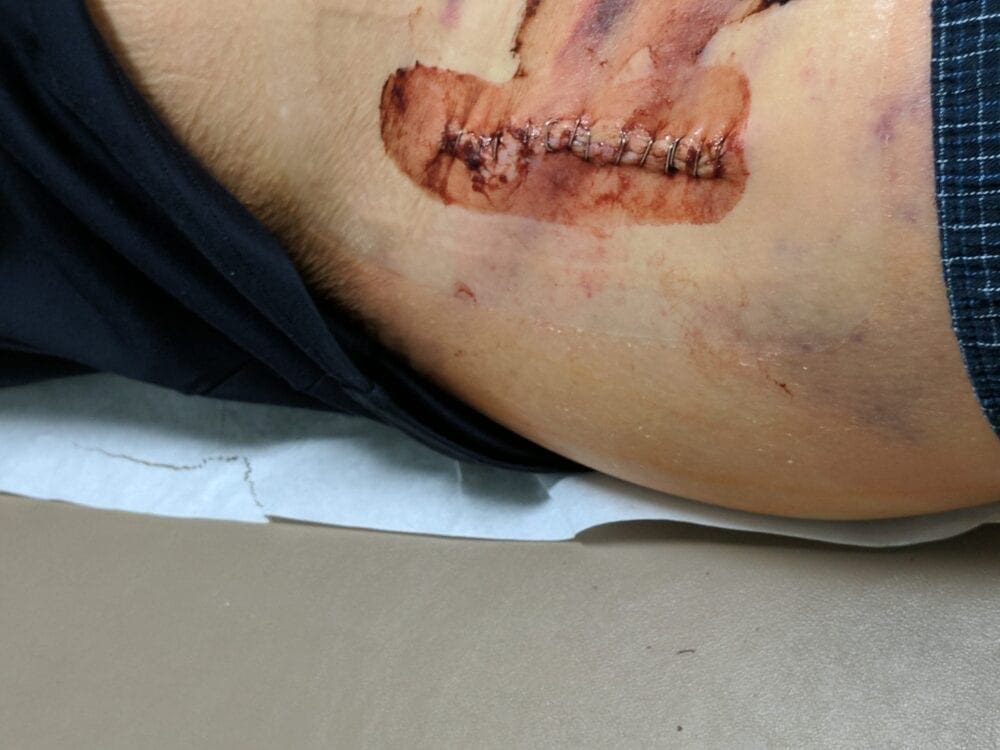
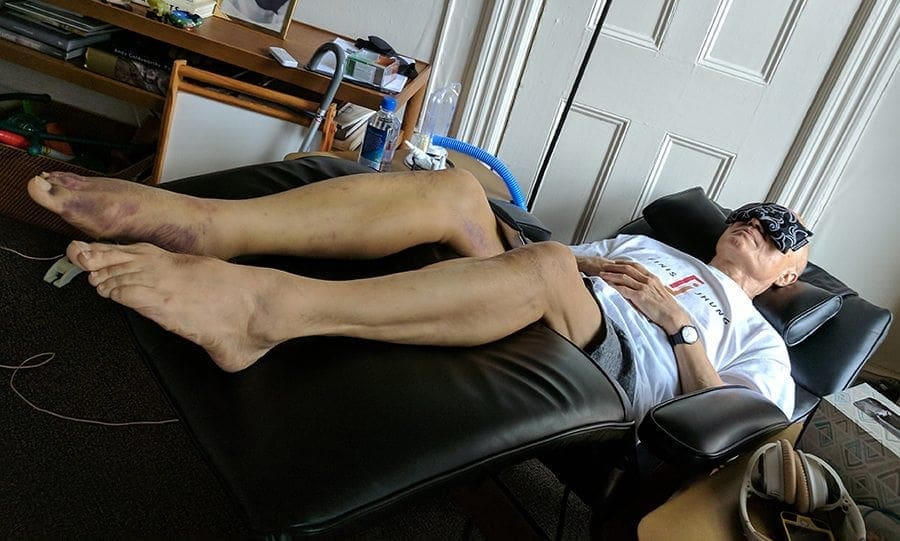
PS: My favorite video right now is The Art of Teaching Jumps. I’ve had double hip-surgery, but will persist with patience and determination for my share of air-time.

—Russell Merriman

NOTE FROM FINIS JHUNG: And I just recommended Ballet Barre Foot Strength Exercises to help Russell strengthen his feet and ankles so he can jump higher.

7 Keys to the Finis Jhung Ballet Technique

  1. The demi-plié is almost isometric. In both the downward and upward movements, the feet—rather than the knees—should initiate the movements. The feet grip the floor and pull the legs into the plié and then relax and push down to return the legs to the standing position. This also applies to pliés on one foot.
  2. Most dance movements are on one leg. What must be developed at the barre is the ability to balance on and move from one foot. Try to work at portable barre placed parallel to the mirror. Stand behind the barre, on the diagonal. This will allow you to keep an eye on your supporting side and encourage you to work correctly. Test your balance by frequently taking your hand off the barre during exercises. In addition, check your readiness to move. You should always be able to rise off your heel whenever you press down on the floor.
  3. The supporting leg controls the free leg, and initiates each movement. The timing of every movement is made by the supporting leg. The free leg (the foot that brushes or slides) never pulls or moves the body. Only the supporting foot that pushes the floor should move the body.
  4. In the center floor, every step you take must be balanced by an arm, or both arms, reaching in the opposite direction. At the barre, develop this sense of the “back arm” by reaching for the barre and pressing down it. Never pull on the barre.
  5. When you pirouette from the fourth position, be sure that you go to “the end of theplié.”
  6. A jump is a relevé in the air. Push the floor, stand in the air.
  7. Overcross the glissade précipitée, which leads into battement fondu developpé relevé, and jumping steps where the free leg is brushed into the air.

Project #fjrecovery

In July, at age eighty, I make the BIG DECISION. I will have my severely arthritic right hip replaced. I’ve been putting if off for years, but have finally accepted the fact that the leg is too unstable and getting weaker by the day. What hurts most is not the muscular pain and limited movement, but that after forty-five years of teaching, I no longer have the strength in my right leg to demonstrate full-out. And remember, I’m the guy who has always said “To dance is to live.” Ouch.

Luckily, my personal physician is Dr. Alan Kadet, who only refers his patients to top-tier specialists. His wife, Cindy, had her hip replaced in 2016 by Dr. Roy Davidovitch, Director of the Hip Center at NYU Langone in New York City. Dr. Davidovitch was the first surgeon in New York City to perform the minimally invasive (MIS) Anterior Approach Total Hip Replacement and has since successfully performed hundreds of these procedures.

Unlike other approaches to the hip, the Anterior Hip Replacement is truly a minimally invasive approach that requires a specially designed surgical table. The goal of the anterior approach total hip replacement is to return patients to their normal functional level in an accelerated fashion.

Wednesday, September 6, my son Jason and I check-in at the hospital at 5:30 a.m. The nurses in surgery greet us with huge smiles. They are so friendly and relaxing! There are nine other patients who will have surgery today.

We are all dressed in a plastic gown that has a tube attached to a heater. It’s inflated with warm air which is comforting, since the room is very cold. We are served coffee!

My vitals are taken, the anesthesiologist goes over details, and Dr. Davidovitch, the surgeon, visits with a reassuring smile.

I am taken to the operating room and placed on that special table. The next thing I know, I wake up lying in bed in a private hospital room with Jason and more smiling nurses attending me. I have absolutely no discomfort or pain. In fact, I’m hungry. Lunch is baked salmon on spinach with fruit for desert, and coffee and water. It’s all surprisingly delicious for hospital food!

That night at 8 p.m. Jason brings me home. I am wearing inflatable sleeves over my calf muscles which increase the speed of blood flow and reduce the risk of clot formations. I will wear these sleeves that constantly compress and release at least eighteen hours each day for the next fourteen days. Whenever I walk about I will wear the ActiveCare control device that weighs 1.6 pounds. When I’m stationary, I take off the devices, and plug them into outlets for charging. When I rise from working on my memoir at the computer, I often forget I’m wired in and begin walking out of the room until I am abruptly jerked back by the calf device cables.

On the second day after surgery, there is hardly any swelling and I feel good enough to try some of the exercises recommended by NYU. As usual, I overdo it, and loosen the tape over the protective gauze, and blood trickles down my leg. I am momentarily alarmed, but that drainage is natural after surgery.

The next day, Jason takes me to the doctor’s office where his assistant adds another layer of gauze and, she attaches a PICO device. Besides the long cables for the calf pumps, now I also have a small wire coming out of the protective gauze which is connected to a miniature unit with a long cord that is battery-operated.

For the next five days, I will be wired up to two different devices day and night.

Four days later, I return to the office where Dr. Davidovitch himself removes the PICO device, both dressings, cleans the area, puts on a new dressing, which I am to remove tomorrow. As long is it’s not draining, I will keep the incision uncovered. For the first time, I see that they really did use little metal staples to close the incision. One of my video customers, Justine Coulon, writes that her dad invented those particular staples. Small world!

The staples will be removed on Friday, September 22—seventeen days after surgery.

After this visit with Dr. Davidovitch, swelling and discoloration begin to appear in different areas of the leg each day. Somedays the thigh and knee are so swollen and tight it’s hard to bend the knee to sit.

I’ve been following a carefully prescribed program of medications, but rarely use the pain-killers like Hydrocodone or the “break-through” pills Oxycodone. Only during this past week—when the swelling made my thigh muscle painfully tight—did I take minimum doses. They don’t relax the muscles which are understandably swollen since they are healing.

What works best is to sit back in my zero gravity recliner which elevates my lower legs so they are higher than my heart and ice the swollen thigh for fifteen minutes an hour.

I seem to be in a very intense period of healing, where swelling and discoloration move up and down my right leg. I never can sleep for more than two hours at a time, because my body is cleansing.

Sleeping is a challenge since I am a side sleeper and it’s very difficult to do this with the right leg very weak and swollen, plus I have cables stemming from both knees that are always connected to the device. Last night, nine days after surgery—Saturday September 15—I finally found a comfortable sleeping position leaning back on a bed reading pillow with legs atop two body pillows and a smaller head pillow.

Since this is my first hip surgery, and each person reacts differently, each day has new challenges.

Sunday, September 16, when I awoke, the swelling and muscle tightness had lessened considerably. I did the gentle home exercises (lie on your back and flex and point the foot; bend the knee and slide the heel toward the buttocks; squeeze the buttocks together; and tighten the top of the thighs by pressing the knees into the bed) and I also walked down to the floor below and up to mine twice—a total of sixty-eight steps—using the handrail and a cane. No pain!

Monday, September 18 is the best day yet. Although my right foot is black and blue—it’s a natural healing progression—I can sit and stand and walk with minimal cane use. Jason takes me to see my intern who wants to make sure I’m not urinating excessively because of an infection.

Wednesday, September 20 Dr. Kadet informs me I don’t have a urine infection; the frequent urinations is just part of the healing process. And, today is the day I no longer have to wear the calf pumps. Off they come and away they go! Yeah!

Before lunch I go through all the home exercises and walk the stairs (17 steps) down and up three times—total 102 steps. After lunch, as usual, the swelling increases. My right foot and ankle are especially stiff and swollen, so I lie back on the recliner with legs up and ice.

At the moment, I’m sitting upright at the computer feeling no pain or discomfort. I am so glad I had this surgery and am fascinated with the recovery process.


Burning Your Bridges As You Move To The Future

It’s that time of the year again – out with the old, in with the new. Now, I’m not suggesting everyone will want to do what I did, when I discovered that burning your bridges to the past can open doors you never knew existed.

In 1968, I was a principal dancer with The Harkness Ballet in Monte Carlo. My childhood dreams had been fulfilled—I only wore white tights and danced classical roles. I was also I a devout Buddhist (having converted 20 Company members), and, one day, had a realization: “I can’t be lying here at the swimming pool in Monte Carlo doing nothing”—while the world is in tumult following the assassinations of JFK, Martin Luther King and Robert Kennedy; Vietnam; hippies; LSD; women’s lib; racism; and college protests.

In January 1969, The Harkness Ballet performed in New York. Shortly after the season, I told Larry Rhodes, who was the director, that I had decided to stop dancing so that I could devote my life to achieving world peace through Buddhism. I had no idea what I was going to do for a living.

1969 – Final Bow with Harkness

After sitting in a hot tub and crying my heart out over what I then thought was the greatest mistake I had ever made, I pulled myself together and found a 9 to 5 job working in an office as secretary to a private investor. My evenings and weekends were now free to roam the streets looking for people to invite to our Buddhist conversion meetings.

For three years, every waking moment was happily devoted to Buddhist activities.  And then, the owner closed his office and I was out of a job. I asked my Buddhist leader what I should do, and he said “Why don’t you teach ballet?”

I contacted Wilson Morelli who said he would love to have me teach at his studio in downtown Manhattan. I went to look at his class and was shocked. I could not remember what the steps were called! I was seeing ballet through the eyes of a stranger. I was in a mild panic. How could I hope to teach professionals when I couldn’t make sense of what they were doing?

I was in trouble—after I quit ballet, I zealously burned all the ballet memorabilia: books on technique, beautiful photo books, and films I had taken of Erik Bruhn onstage—the man who was one of the greatest dancers of the 20th century and had mentored me. I purposely destroyed all the reminders of my ballet past so that I could prove I was completely happy being a “nobody” without any special identity.

And now, in order to make a living, I was about to re-enter the ballet world. In desperation, I ran to the book store and bought all the ballet books available. My first class was attended by four students. Clearly, I had made a dreadful mistake—how would I survive making such little money? And teaching every exercise in 3/4 since I was too insecure to try anything else.

As we now know, I did survive—and thrive—and am now in my 44th year of teaching.

Teaching Adult Babies at Ailey Extension

Because I had burned my ballet bridges, I was free to create my own ballet technique, based on teaching  the way I wish I had always been taught – with sensible exercises that warmed you up slowly and thoroughly, built strength and artistry, and even more, with explanations on HOW and WHY we ballet dancers do what we do.

Through the years, I’ve graduated to teaching adult beginners in classes at The Ailey Extension in New York, written a Technique book, and sold over 54,000 instructional videos. Another book and more videos are on the way. 2017, here we come!

RISING ABOVE – OVERCOMING SETBACKS ON YOUR UPWARD TRAJECTORY

RISING ABOVE – OVERCOMING SETBACKS ON YOUR UPWARD TRAJECTORY

A life devoted to ballet offers many chances to be graceful – just not always in the ways you might imagine


My spirits should have been soaring. It was 1965 and The Harkness Ballet of New York was making its official debut in Cannes, France. I was a soloist in a company of 40 dancers, fulfilling my humble dreams as a small child in WWII Hawaii. Even so, I was not a happy camper. Of the 18 works in our repertory, only three were classical – my passion and forte. Worse still, I never got to dance them onstage.

Much of ballet is centered on strength and grace. I found it hard to exhibit either limited to supporting roles as “exotic” characters. In fact, it was hard for me to take ballet seriously at a time when much of my time on stage was spent on the floor wearing knee pads rather than soaring through the air. It was particularly difficult to exhibit grace as the better parts went to other dancers. While I had great respect for their abilities, I felt with proper rehearsing I could do as well as they.

Luckily for me, our guest star was the great Danish dancer Erik Bruhn. He was the recognized “King of Ballet”— a living legend with phenomenal technique and extraordinary grace and beauty. He helped me to understand that what separated the elite performers from the merely remarkable was not ability, but approach. Great stars always work overtime. Erik took me under his wing and became a mentor – let me sit in his dressing room while he made up his god-like face (and hair); let me do the pre-show warm-up with him; and coached me during rehearsals. In all things, he showed me how to do my best.

Erik also taught me the importance of repetition – applying the same process to achieve the same result – day after day. Essentially, how you practice is how you play. After working with Erik, I was no longer concerned with what roles I had, but concentrated on perfecting my technique in preparation for better parts. Which did come with changes in our repertory the following year.

Since then, my own experiences as a teacher have taught me that the world is a better place when every individual is inspired to reach his or her fullest potential. Working with adult novice beginners is especially gratifying, as our sessions aren’t only about improving technique but also enhance the quality of life.

Whether you are a banker, doctor, lawyer, stay-at-home parent or billionaire CEO – the principles apply: discoveries in ballet lead to discoveries in life. Deeply immersing yourself in the movement process can lead to new life-changing thoughts in daily life.

With dedicated repetition of the fundamentals, both student and teacher steadily move forward with knowledge, grace, vitality and strength.


Private Class with Finis

Balance Your Arabesque

How to place the first arabesque

Beginner Ballet Movement Skills. Lesson 2.
For detailed instructions, see my video, Basic Ballet Movement Skills, Lesson 2.

The beauty of the arabesque depends on the correct placement of the head. The head must be centered on a high chest with energy going up the back of the neck. Stand in front of the mirror in first arabesque on the right foot. Your left arm is in second position, your right arm is extended forward defining the first arabesque position. Do not tilt your head to the right towards your right shoulder and arm. This is why you fall forward when you attempt a piqué arabesque (stepping directly on the half-toe). When you pose in arabesque on your right foot, use your left arm for balance. Reach out and towards the back with your left arm as you extend your R arm forward. Keep your shoulders level with the floor as you press down on the air with both arms. Standing on the right foot, think of listening to the music with your left ear. The rule of balance: Ears Back!

The Demi-plié & Your Feet

It is important to remember that the demi-plié in ballet dancing differs from the plié in contemporary dance. In ballet, our movements are usually upward, quick, and light—the dancer must rise from a plié into a pose, turn, or jump and therefore a high center of gravity is required. In contemporary dance the movements are usually horizontal or downward, and weighted—the dancer works with a low center of gravity since there are frequent descents into prone or sitting positions on the floor.

Please don’t relax your demi-plié during your barre exercises. When you have a deep relaxed plié, this will force you to pull yourself up out of it and in doing so this will tend to set you back on your heels and make you behind the music.

At the ballet barre, and as much as possible in center floor when working slowly, always remember you are going to do something with that demi-plié whether it be a pose, turn, or jump. Therefore, when you demi-plié in each exercise, initiate the plié by clawing the floor with your toes and gripping the floor. You want to connect with the floor. You want to feel the muscles in your toes, instep and ankle fully engaged. You are preparing the ball of your foot and your toes to extend, spread, and take all of your weight when you relevé. Make sure you feel a muscular connection from the tips of your toes to your hip—you are spring-loading your feet so that you can push down on the floor and propel your body upwards.

Start and end each demi-plié with your toes and you will improve rapidly. As much as possible (if music and the choreography allow), use this kind of plié in center floor before you pirouette as well as to initiate jumps from two feet.

TEACHER TALK

TEACHER TALK

Yesterday at the Ailey Extension I gave the adult absolute beginners the Ballet Barre for the Adult Absolute Beginner followed by one of the short dances from The Ten-Minute Ballet Break.

We used Exercise 1 from the Ballet Break #2. (There are four different ten-minute breaks, each with four different dances.)

You can catch a glimpse of this in the video trailer: http://finisjhung.com/shop/ten-minute-ballet-break/

Fast forward to 1:29 and you’ll see Antonio Carmena, NYCB soloist demonstrate it. I love this music!

The class was full with 35 students, so it was a challenge to teach them all how to do this dance which reinforces the idea of using opposition. For most, it was a totally new experience to tombé in second position on half-toe, so I I used Sophie Ono, who is a regular and continues to improve like a house afire, but who at first did not understand the movement. To help her balance the tombé to the right, I pulled her left arm and shoulder away from her right foot, and told her to keep the weight of her head on her left shoulder. Voila! That demonstration of opposition helped most of the class understand how to work their bodies and after that most could do the exercise with grace and fluidity. We also worked this idea forward and back. I love to see dancers dance!

If you are a teacher, this video will give you lots of short dances you can use in class. If you are an adult student, get the video and do06_10MBB these simple dances in your living room. On with the dance!


You are a Star!

A star has 5 points. You have 5 points: Energy flows from the center of your body down through both legs and feet; up through your chest and out through both shoulders and arms; and up to your head and out of your eyes.

You are a star forever!

TURNS HAVE 2 COUNTS

Last night after class Ari practiced her outside pirouettes to the right. She was able to do at least two or three but then fell off. I pointed to my left knee and said “One” and then to my eyes and said “Two.” (All turns have 2 counts: plié on the 1, spot on the 2) She smiled, followed my instructions, and performed 5 beautifully placed controlled pirouettes finishing on half-toe. On-looking students were amazed. (So was she, as she was jet-lagged, having just returned from 10 days in Japan). ONWARD—WITHOUT A DOUBT!