Adult Babies Down Under

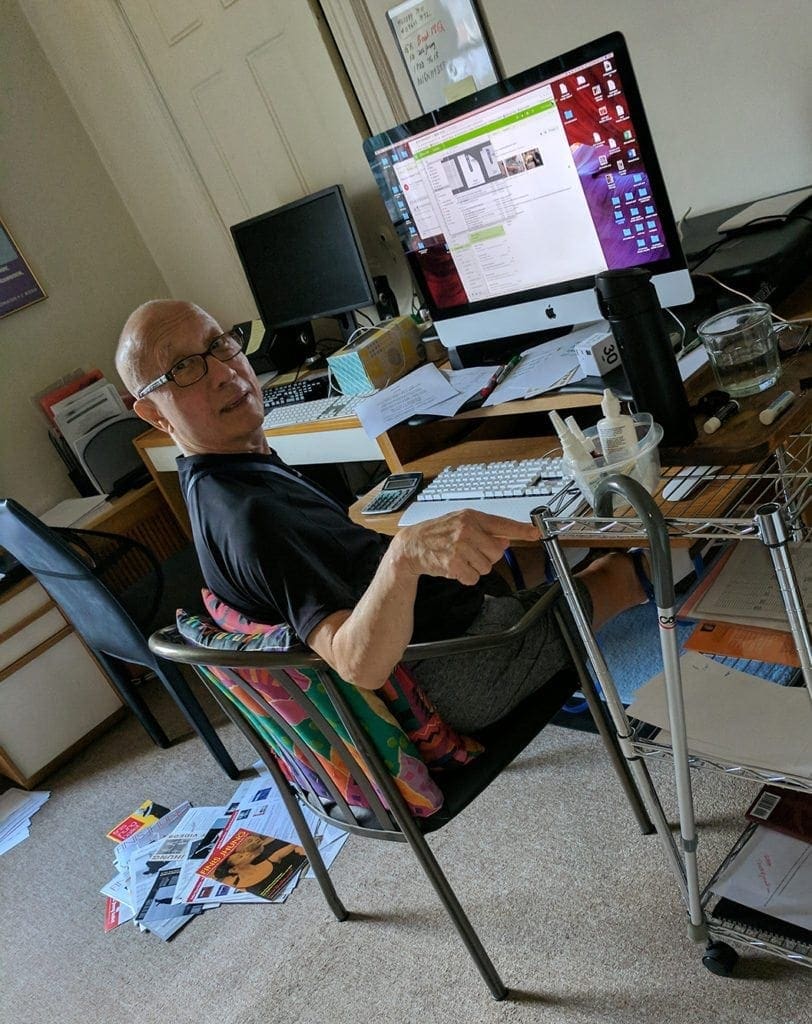
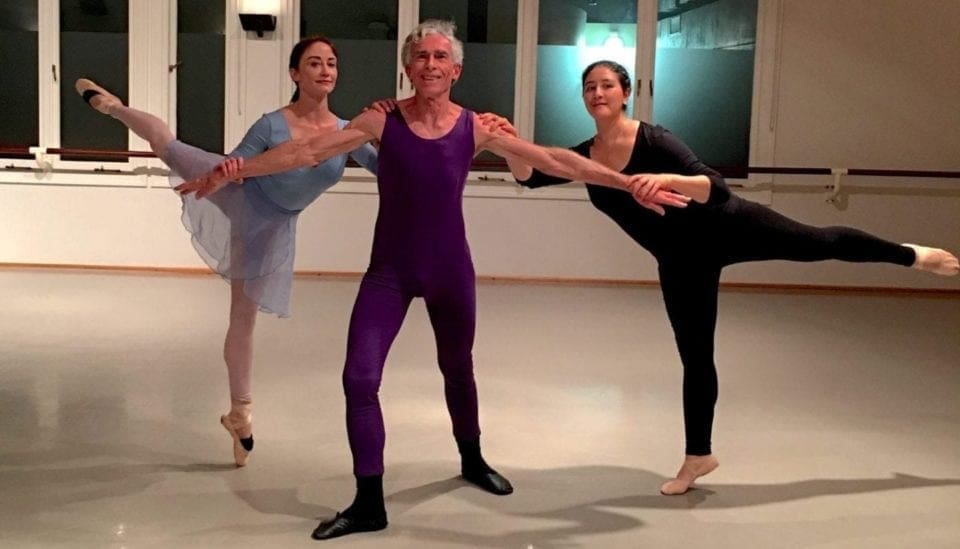
Pictured above: Russell with two lovely partners, Claire and Christina.

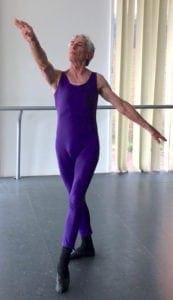
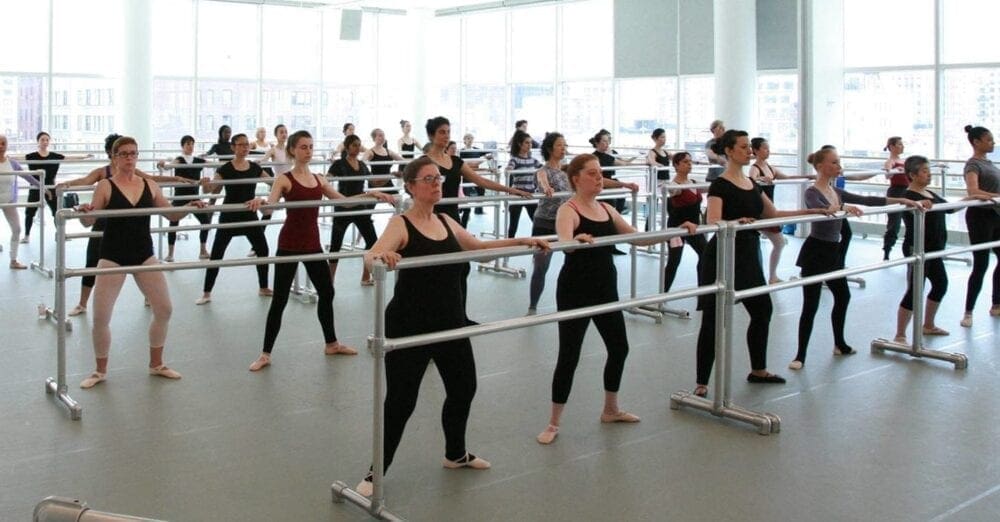
I call my adult students my “ballet babies” because, like young children, they are so eager to learn, are “pure” in that they have no pre-conceived notions, and dance as if there is no tomorrow. Some of my babies are teachers and students who live in Australia. Some have attended my workshops; all use my videos and music; and most have my memoir Ballet for Life.  Russell Merriman lives in Bicton, Western Australia, and began studying with my streaming videos this year.

In his own words…

Streaming from Perth Western Australia is phenomenal. It is simple to log on and there are no delays in finding my videos. I am a ‘mature’ student. I turn 75 years of age on July 19. My ballet has improved dramatically since I started using your streaming videos. I have started pas de deux and my partner who was a professional ballet dancer thinks that I am a ‘natural.’ I purchased your Partnering Techniques DVD.

My first dance technique was contemporary dance. While a student at Flinders University of South Australia I attended a week-long workshop at Australian Dance Theatre in Adelaide. I was aged 30 years and very stiff and inflexible. I was excited when, at the end, we performed a dance to the song of Buffy Sainte-Marie: God is alive, Magic is afoot. How prescient for my life!

I then joined a small group of dancers at Flinders University and after we performed, I was ‘hooked.’ I moved to Perth in 1974 and commenced contemporary dance classes with Ruth Osborne, wo taught the Graham Technique. After I turned 40, I found an introduction to ballet of eight free classes. After discovering pirouettes I never stopped.

Around the same time, I joined the Keszkeno Hungarian Dance group. I was mesmerized by the athleticism of the male dancers and remained with the group until 2016. We performed at concerts in Sydney, Melbourne, Brisbane, and Hungary. I had to stop Hungarian dance as an old ankle injury couldn’t cope with the stamping.

I continued ballet classes, and my first brief ballet performance in October 2017 included a ‘mini’ pas de deux which introduced me to the delights of partnering.

I am indebted to Heather Callander who has been my teacher for over 30 years. She told me about the videos of Finis Jhung which allowed my enthusiasm for ballet to expand. She uses his concepts in her teaching. Justin McNamara has been instrumental in his beginner classes in teaching me the fundamentals of posture and balance. Justin says he ‘Really found it so helpful the way Finis explains the way to approach teaching the use of arms for beginners in classical ballet and the example for pirouettes of the kids toy where to make it spin you push down to make it turn.’

I have found that the secret of ballet is that it is anti-gravity as the movement is all UP. This lengthens the spine and frees up space in the joints. Obviously this counteracts the normal effect of aging where people ‘shrink’ and their body contracts. The change in one’s posture from ballet can be dramatic (mine has) and it results in new breathing patterns. So, like Finis, I will never give up.

PS: My favorite video right now is The Art of Teaching Jumps. I’ve had double hip-surgery, but will persist with patience and determination for my share of air-time.

—Russell Merriman

NOTE FROM FINIS JHUNG: And I just recommended Ballet Barre Foot Strength Exercises to help Russell strengthen his feet and ankles so he can jump higher.

7 Keys to the Finis Jhung Ballet Technique

  1. The demi-plié is almost isometric. In both the downward and upward movements, the feet—rather than the knees—should initiate the movements. The feet grip the floor and pull the legs into the plié and then relax and push down to return the legs to the standing position. This also applies to pliés on one foot.
  2. Most dance movements are on one leg. What must be developed at the barre is the ability to balance on and move from one foot. Try to work at portable barre placed parallel to the mirror. Stand behind the barre, on the diagonal. This will allow you to keep an eye on your supporting side and encourage you to work correctly. Test your balance by frequently taking your hand off the barre during exercises. In addition, check your readiness to move. You should always be able to rise off your heel whenever you press down on the floor.
  3. The supporting leg controls the free leg, and initiates each movement. The timing of every movement is made by the supporting leg. The free leg (the foot that brushes or slides) never pulls or moves the body. Only the supporting foot that pushes the floor should move the body.
  4. In the center floor, every step you take must be balanced by an arm, or both arms, reaching in the opposite direction. At the barre, develop this sense of the “back arm” by reaching for the barre and pressing down it. Never pull on the barre.
  5. When you pirouette from the fourth position, be sure that you go to “the end of theplié.”
  6. A jump is a relevé in the air. Push the floor, stand in the air.
  7. Overcross the glissade précipitée, which leads into battement fondu developpé relevé, and jumping steps where the free leg is brushed into the air.

Project #fjrecovery

In July, at age eighty, I make the BIG DECISION. I will have my severely arthritic right hip replaced. I’ve been putting if off for years, but have finally accepted the fact that the leg is too unstable and getting weaker by the day. What hurts most is not the muscular pain and limited movement, but that after forty-five years of teaching, I no longer have the strength in my right leg to demonstrate full-out. And remember, I’m the guy who has always said “To dance is to live.” Ouch.

Luckily, my personal physician is Dr. Alan Kadet, who only refers his patients to top-tier specialists. His wife, Cindy, had her hip replaced in 2016 by Dr. Roy Davidovitch, Director of the Hip Center at NYU Langone in New York City. Dr. Davidovitch was the first surgeon in New York City to perform the minimally invasive (MIS) Anterior Approach Total Hip Replacement and has since successfully performed hundreds of these procedures.

Unlike other approaches to the hip, the Anterior Hip Replacement is truly a minimally invasive approach that requires a specially designed surgical table. The goal of the anterior approach total hip replacement is to return patients to their normal functional level in an accelerated fashion.

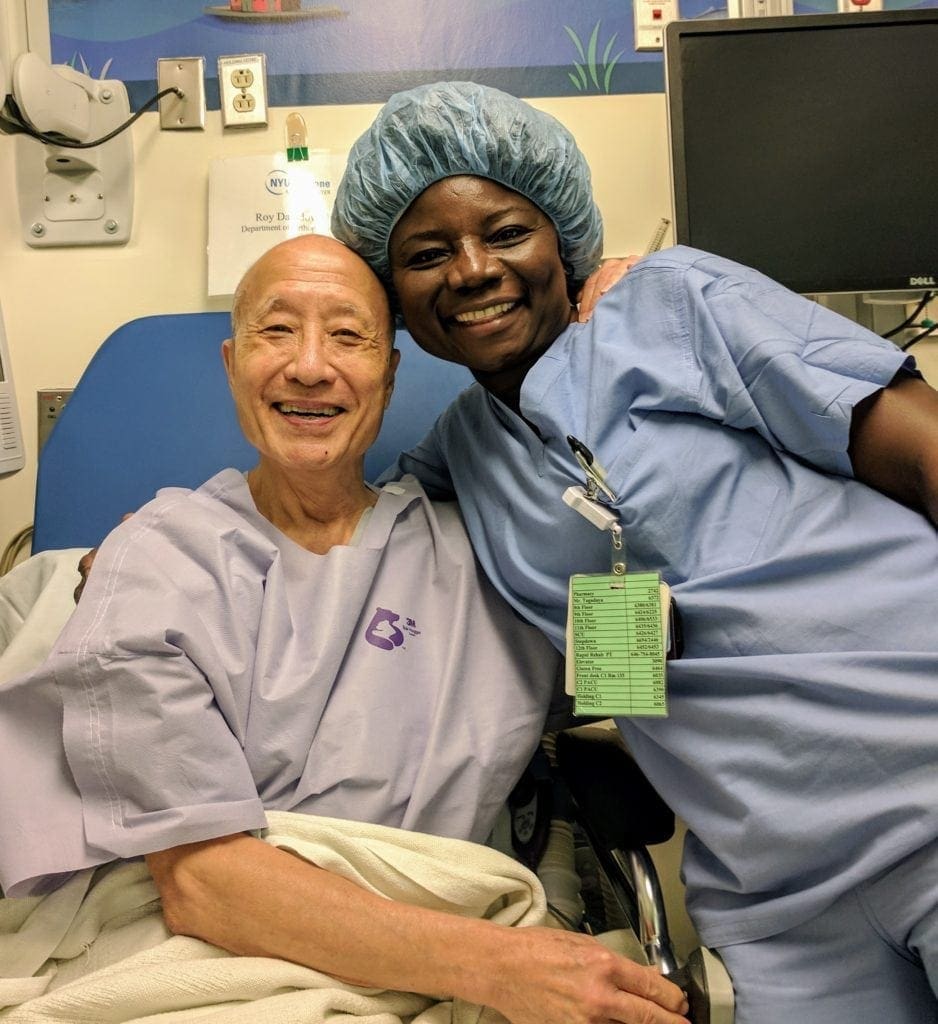
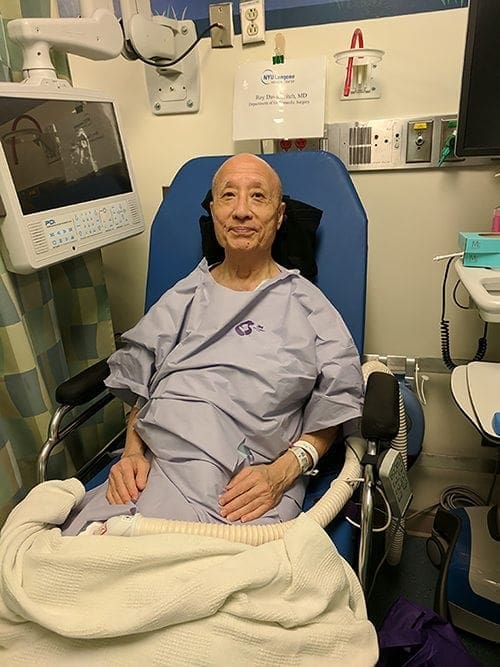
Wednesday, September 6, my son Jason and I check-in at the hospital at 5:30 a.m. The nurses in surgery greet us with huge smiles. They are so friendly and relaxing! There are nine other patients who will have surgery today.

We are all dressed in a plastic gown that has a tube attached to a heater. It’s inflated with warm air which is comforting, since the room is very cold. We are served coffee!

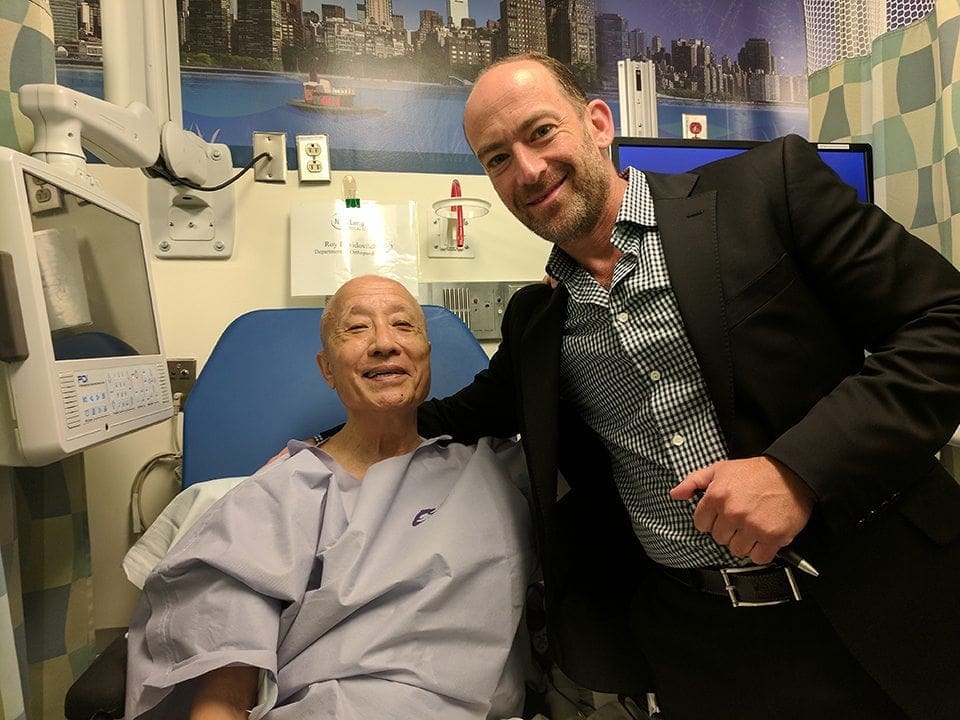
My vitals are taken, the anesthesiologist goes over details, and Dr. Davidovitch, the surgeon, visits with a reassuring smile.

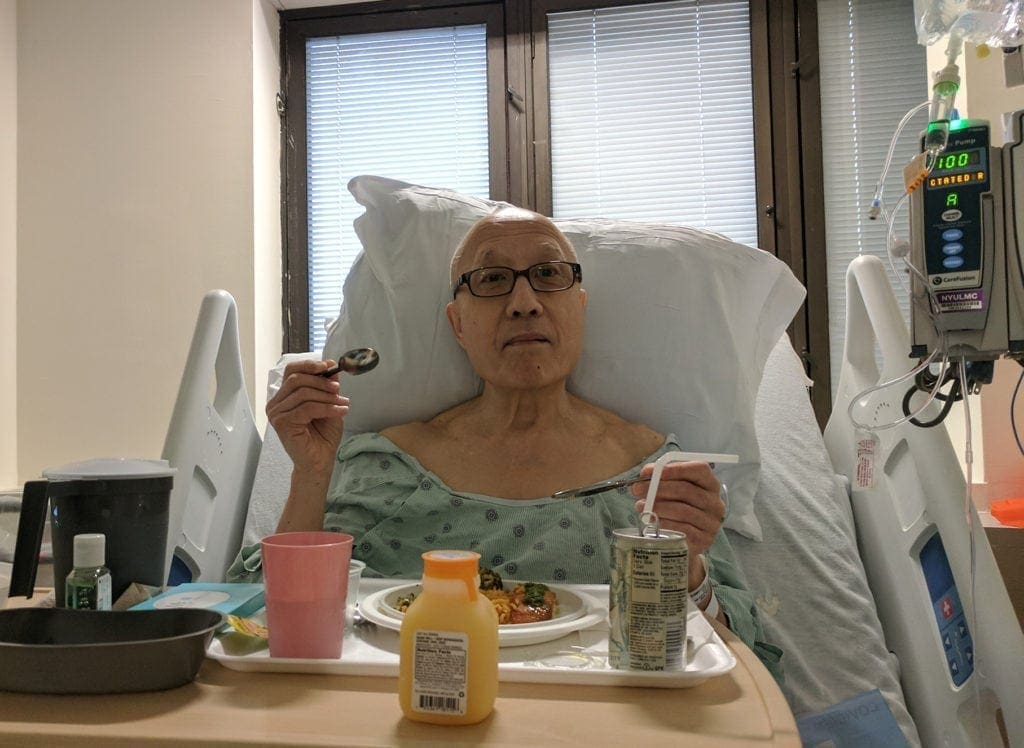
I am taken to the operating room and placed on that special table. The next thing I know, I wake up lying in bed in a private hospital room with Jason and more smiling nurses attending me. I have absolutely no discomfort or pain. In fact, I’m hungry. Lunch is baked salmon on spinach with fruit for desert, and coffee and water. It’s all surprisingly delicious for hospital food!

That night at 8 p.m. Jason brings me home. I am wearing inflatable sleeves over my calf muscles which increase the speed of blood flow and reduce the risk of clot formations. I will wear these sleeves that constantly compress and release at least eighteen hours each day for the next fourteen days. Whenever I walk about I will wear the ActiveCare control device that weighs 1.6 pounds. When I’m stationary, I take off the devices, and plug them into outlets for charging. When I rise from working on my memoir at the computer, I often forget I’m wired in and begin walking out of the room until I am abruptly jerked back by the calf device cables.

On the second day after surgery, there is hardly any swelling and I feel good enough to try some of the exercises recommended by NYU. As usual, I overdo it, and loosen the tape over the protective gauze, and blood trickles down my leg. I am momentarily alarmed, but that drainage is natural after surgery.

The next day, Jason takes me to the doctor’s office where his assistant adds another layer of gauze and, she attaches a PICO device. Besides the long cables for the calf pumps, now I also have a small wire coming out of the protective gauze which is connected to a miniature unit with a long cord that is battery-operated.

For the next five days, I will be wired up to two different devices day and night.

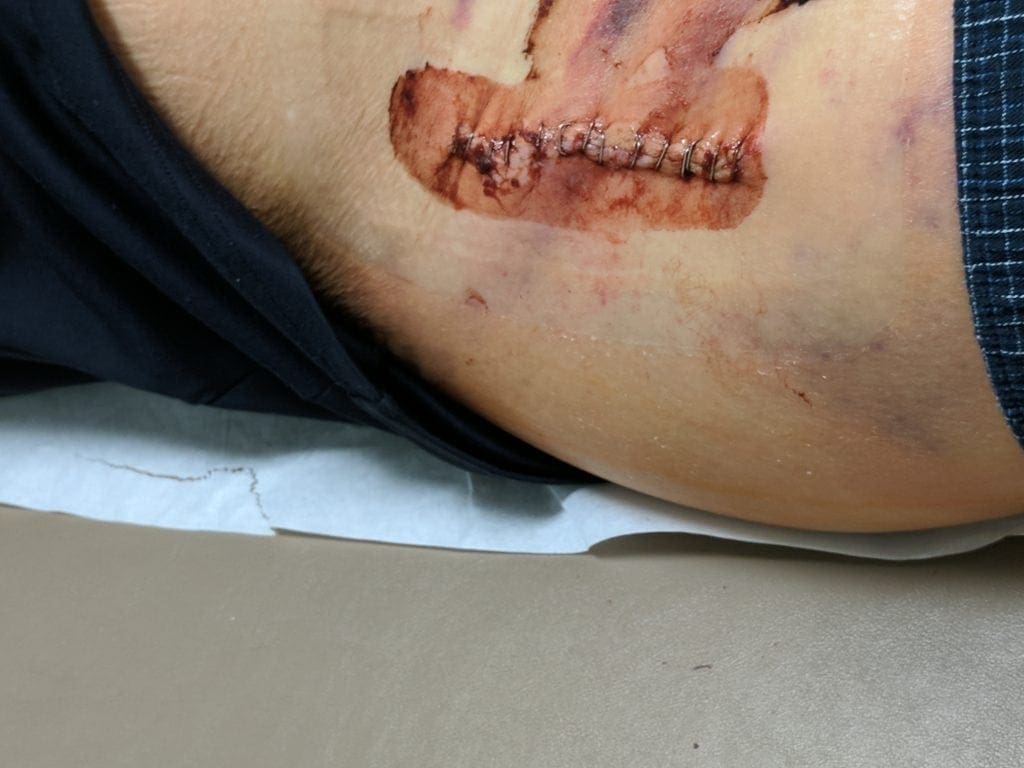
Four days later, I return to the office where Dr. Davidovitch himself removes the PICO device, both dressings, cleans the area, puts on a new dressing, which I am to remove tomorrow. As long is it’s not draining, I will keep the incision uncovered. For the first time, I see that they really did use little metal staples to close the incision. One of my video customers, Justine Coulon, writes that her dad invented those particular staples. Small world!

The staples will be removed on Friday, September 22—seventeen days after surgery.

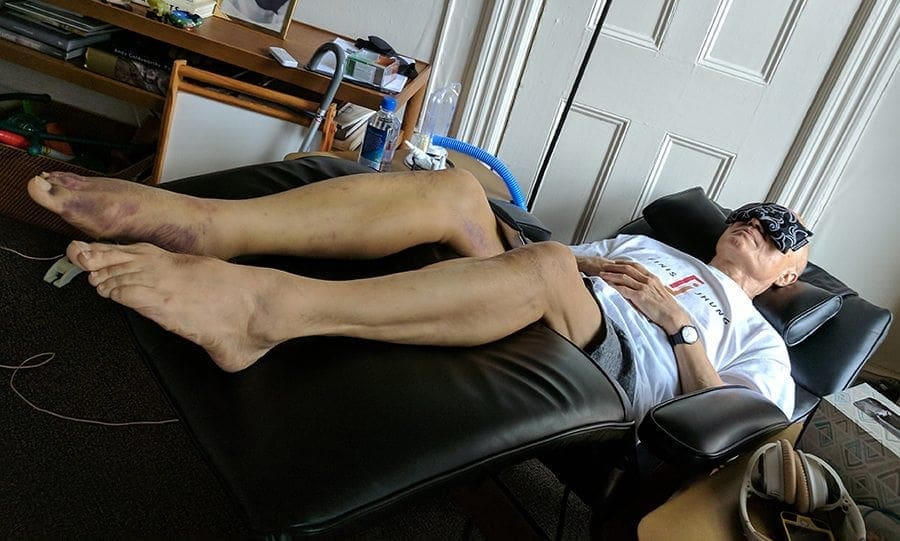
After this visit with Dr. Davidovitch, swelling and discoloration begin to appear in different areas of the leg each day. Somedays the thigh and knee are so swollen and tight it’s hard to bend the knee to sit.

I’ve been following a carefully prescribed program of medications, but rarely use the pain-killers like Hydrocodone or the “break-through” pills Oxycodone. Only during this past week—when the swelling made my thigh muscle painfully tight—did I take minimum doses. They don’t relax the muscles which are understandably swollen since they are healing.

What works best is to sit back in my zero gravity recliner which elevates my lower legs so they are higher than my heart and ice the swollen thigh for fifteen minutes an hour.

I seem to be in a very intense period of healing, where swelling and discoloration move up and down my right leg. I never can sleep for more than two hours at a time, because my body is cleansing.

Sleeping is a challenge since I am a side sleeper and it’s very difficult to do this with the right leg very weak and swollen, plus I have cables stemming from both knees that are always connected to the device. Last night, nine days after surgery—Saturday September 15—I finally found a comfortable sleeping position leaning back on a bed reading pillow with legs atop two body pillows and a smaller head pillow.

Since this is my first hip surgery, and each person reacts differently, each day has new challenges.

Sunday, September 16, when I awoke, the swelling and muscle tightness had lessened considerably. I did the gentle home exercises (lie on your back and flex and point the foot; bend the knee and slide the heel toward the buttocks; squeeze the buttocks together; and tighten the top of the thighs by pressing the knees into the bed) and I also walked down to the floor below and up to mine twice—a total of sixty-eight steps—using the handrail and a cane. No pain!

Monday, September 18 is the best day yet. Although my right foot is black and blue—it’s a natural healing progression—I can sit and stand and walk with minimal cane use. Jason takes me to see my intern who wants to make sure I’m not urinating excessively because of an infection.

Wednesday, September 20 Dr. Kadet informs me I don’t have a urine infection; the frequent urinations is just part of the healing process. And, today is the day I no longer have to wear the calf pumps. Off they come and away they go! Yeah!

Before lunch I go through all the home exercises and walk the stairs (17 steps) down and up three times—total 102 steps. After lunch, as usual, the swelling increases. My right foot and ankle are especially stiff and swollen, so I lie back on the recliner with legs up and ice.

At the moment, I’m sitting upright at the computer feeling no pain or discomfort. I am so glad I had this surgery and am fascinated with the recovery process.


KEEP MOVING FORWARD

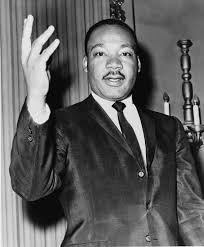
Today we remember one of America’s greatest heroes, Martin Luther King Jr. This wise and courageous leader left us with many inspiring thoughts. One of them is my daily mantra:

“If you can’t fly then run, if you can’t run then walk, if you can’t walk then crawl, but whatever you do you have to keep moving forward.”

When I first started teaching 44 years ago, I mainly taught professionals who were skilled dancers that required barre exercises that developed slowly in complexity and speed, and center combinations that were choreographed like short dances. The classes always ended at performance level with dancers flying and turning across the floor with dazzling speed and expertise.

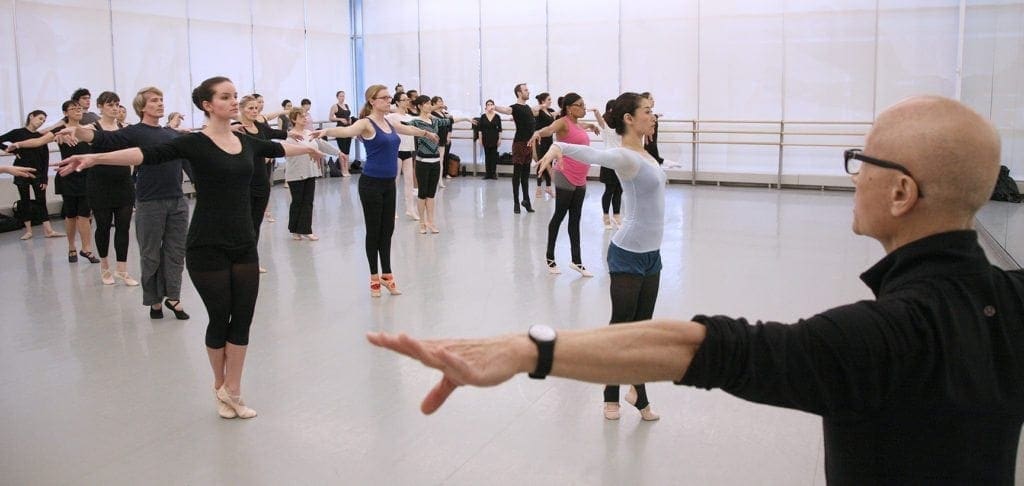
Today, I no longer teach advanced professionals. Instead, at The Ailey Extension (and around the world with my streaming videos and DVDs) my focus is on teaching amateur adult beginners.

Because most of these adults are non-dancing professionals (doctors, lawyers, administrators, office workers) moving forward for them happens slowly. But steadily.

With My Adult Babies at Ailey Extension

My personal challenge each day is to continue moving forward by thinking backwards – distilling ballet technique to its most simple and learnable elements so that regardless of a person’s age, anatomy, background, or aptitude, it is possible to learn how to stand and move with balance, strength, and grace.

As I watch my “adult babies” learn each exercise with childlike wonder and practice each exercise with rapt concentration, they reaffirm my deep belief that the art of ballet teaches one not only how to dance, but, more importantly, how to continue moving forward in the journey that is life.

Burning Your Bridges As You Move To The Future

It’s that time of the year again – out with the old, in with the new. Now, I’m not suggesting everyone will want to do what I did, when I discovered that burning your bridges to the past can open doors you never knew existed.

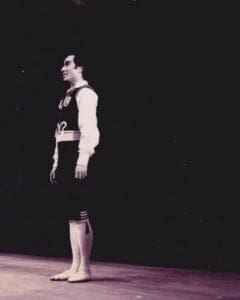
In 1968, I was a principal dancer with The Harkness Ballet in Monte Carlo. My childhood dreams had been fulfilled—I only wore white tights and danced classical roles. I was also I a devout Buddhist (having converted 20 Company members), and, one day, had a realization: “I can’t be lying here at the swimming pool in Monte Carlo doing nothing”—while the world is in tumult following the assassinations of JFK, Martin Luther King and Robert Kennedy; Vietnam; hippies; LSD; women’s lib; racism; and college protests.

In January 1969, The Harkness Ballet performed in New York. Shortly after the season, I told Larry Rhodes, who was the director, that I had decided to stop dancing so that I could devote my life to achieving world peace through Buddhism. I had no idea what I was going to do for a living.

1969 – Final Bow with Harkness

After sitting in a hot tub and crying my heart out over what I then thought was the greatest mistake I had ever made, I pulled myself together and found a 9 to 5 job working in an office as secretary to a private investor. My evenings and weekends were now free to roam the streets looking for people to invite to our Buddhist conversion meetings.

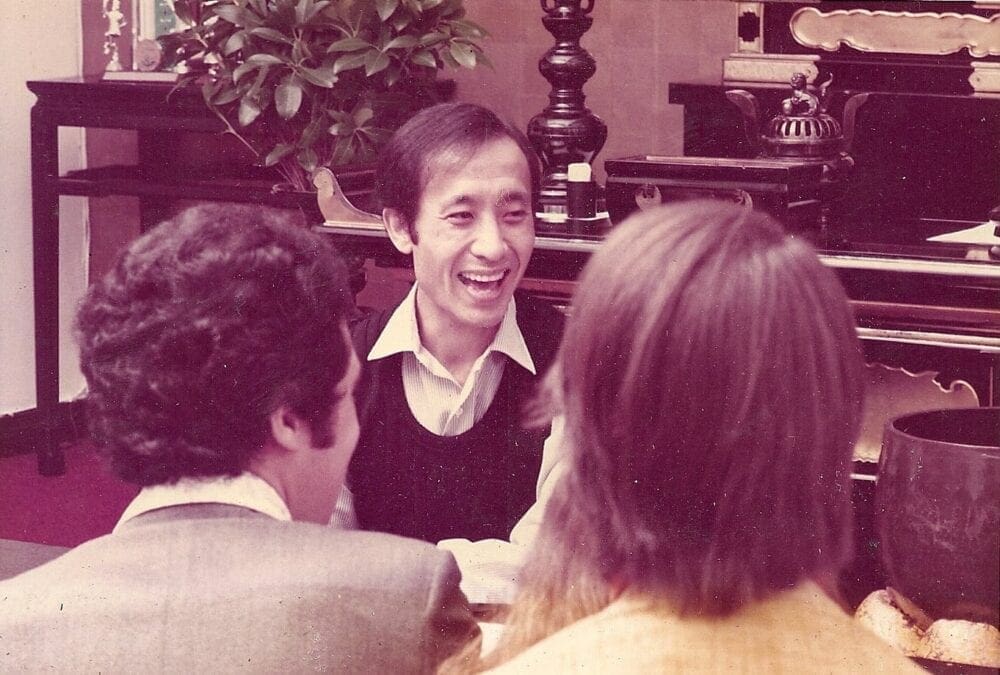
For three years, every waking moment was happily devoted to Buddhist activities.  And then, the owner closed his office and I was out of a job. I asked my Buddhist leader what I should do, and he said “Why don’t you teach ballet?”

I contacted Wilson Morelli who said he would love to have me teach at his studio in downtown Manhattan. I went to look at his class and was shocked. I could not remember what the steps were called! I was seeing ballet through the eyes of a stranger. I was in a mild panic. How could I hope to teach professionals when I couldn’t make sense of what they were doing?

I was in trouble—after I quit ballet, I zealously burned all the ballet memorabilia: books on technique, beautiful photo books, and films I had taken of Erik Bruhn onstage—the man who was one of the greatest dancers of the 20th century and had mentored me. I purposely destroyed all the reminders of my ballet past so that I could prove I was completely happy being a “nobody” without any special identity.

And now, in order to make a living, I was about to re-enter the ballet world. In desperation, I ran to the book store and bought all the ballet books available. My first class was attended by four students. Clearly, I had made a dreadful mistake—how would I survive making such little money? And teaching every exercise in 3/4 since I was too insecure to try anything else.

As we now know, I did survive—and thrive—and am now in my 44th year of teaching.

Teaching Adult Babies at Ailey Extension

Because I had burned my ballet bridges, I was free to create my own ballet technique, based on teaching  the way I wish I had always been taught – with sensible exercises that warmed you up slowly and thoroughly, built strength and artistry, and even more, with explanations on HOW and WHY we ballet dancers do what we do.

Through the years, I’ve graduated to teaching adult beginners in classes at The Ailey Extension in New York, written a Technique book, and sold over 54,000 instructional videos. Another book and more videos are on the way. 2017, here we come!

“THE NUTCRACKER” BALLET – A LOOK BEHIND THE CURTAIN: Life Lessons Learned Performing the Timeless Holiday Classic

“THE NUTCRACKER” BALLET – A LOOK BEHIND THE CURTAIN:

Life Lessons Learned Performing the Timeless Holiday Classic

It’s clear – the holidays are here! Amid the hustle and bustle of the shopping season, most important are those annual traditions that bring us all together – as families and as a culture. For me, nothing signifies the start of the season like the return of “The Nutcracker.”

Appreciation for this holiday classic spans generations and borders. In fact, for the next few weeks, versions will fill stages across the country – and the world. Joyfully, the performances will feature dancers of all ages, backgrounds and experience levels. How many promising dance careers were launched in the warmth of a theater in December, as young sons and daughters were inspired by the artistry and athleticism on display?

Children are not alone in being captivated by the choreography in “The Nutcracker.” The music is familiar and irresistible —certainly a few parents would admit to trying to pull off a few steps when they thought nobody was looking. If you accidentally kicked over some furniture or tweaked a hamstring – don’t be discouraged. Every journey begins with a single step. However, it’s usually best not to start with the hardest one.

As a teacher of adult beginners, I encourage my new students to focus on the long-term benefits of dance, and not on “looking pretty.” Ballet will make you stronger, more graceful and improve your balance – in everything that you do. My own experiences in performing “The Nutcracker,” however, are proof that this success isn’t always overnight:

“It was Christmas in ’55 and all through the house, Finis was fuming, not even a mouse.” – I vividly recall sitting alone in the dark in the theater at The University of Utah, watching a dress rehearsal for the “Nutcracker” and feeling as lonely as could be. It was Christmas, and we just didn’t have the money to fly me to my Mom in Hawaii. Meanwhile, I wasn’t even ready to be a mouse in our production. And I felt just that small.

Still, I was determined to work harder to grow my ballet technique. Only three years later, I danced the “Snow Prince” plus the Spanish and Russian dances in our production. What great preparation for later in life, when I would be a father, teacher and student – all at once. My adult beginners, too, understand the complexities of balancing many roles with energy and passion. The versatility and perspective that adult beginners bring to dance can speed progress and understanding.

The biggest obstacle to achievement for the adult learner is sometimes vanity. I know this too, from experience. In 1960 I performed the Russian ribbon dance in “The Nutcracker” with Michael Smuin of the San Francisco Ballet. Trying to keep up with Michael, the best jumper and turner in the company— doing double air turns across the stage while holding beribboned batons with both hands high above my head—had me bouncing all over the vast opera house stage. Repetition and practice – my usual solution – failed to correct the issue and left my confidence shaken.

My mental block was cured only when I realized that I was focused on trying to look text-book perfect (forcing my turnout and pulling up so much I looked like I was dancing on egg shells), instead of using my body as it was built and the correct body mechanics I had learned from Bill Christensen at the U of Utah. I was working outside of my own body!

It took several years to overcome the mental block of falling all over the stage, but by 1965 I had regained my technique. While dancing with the Harkness Ballet of New York in Cannes, I successfully performed sixty-four double air turns over the course of a single weekend. Four performances, without a hitch – occasion enough for the director to give me a bottle of champagne to celebrate as he thought I had set a new record for double air turns.

I offer this advice – learned by performing in the Nutcracker – to both students and teachers this holiday season:

  1. Take the time to celebrate your own personal and professional accomplishments
  2. Fearlessly pursue new challenges, especially those that promise to bring strength and balance to your life
  3. See “The Nutcracker” ballet! The music is glorious and the story is timeless. I promise you will be truly inspired

You are a Star!

A star has 5 points. You have 5 points: Energy flows from the center of your body down through both legs and feet; up through your chest and out through both shoulders and arms; and up to your head and out of your eyes.

You are a star forever!

TURNS HAVE 2 COUNTS

Last night after class Ari practiced her outside pirouettes to the right. She was able to do at least two or three but then fell off. I pointed to my left knee and said “One” and then to my eyes and said “Two.” (All turns have 2 counts: plié on the 1, spot on the 2) She smiled, followed my instructions, and performed 5 beautifully placed controlled pirouettes finishing on half-toe. On-looking students were amazed. (So was she, as she was jet-lagged, having just returned from 10 days in Japan). ONWARD—WITHOUT A DOUBT!

INTEGRITY OF MOVEMENT

A thought for today: Do you bend back to show you can bend your back or do you bend back and reach back so that you can step forward and push down into a relevé or jump?

PLIE WITH STRENGTH

DEMI-PLIÉ WITH STRENGTH & CONTROL

The demi-plié is the preparation for, and the end of, almost every movement we make in ballet dancing. Therefore, it must be done with strength and control. This is the first and most important lesson I teach all students.

Get in front of the mirror and stand in a wide second position (at least two foot-lengths apart). Your body should resemble a triangle. You are going to stretch up through your head with energy that equals what you put into your feet and legs.

I don’t want you to relax into a picture position. Your knees will bend into the plié position because your feet are going to grip the floor and pull your legs.

To get the feeling of this, curl your fingers over each other. Now grip and pull as hard as you can without letting go. Can you feel the muscles in your fingers, hands, arms and shoulders?

Now do this with your feet to make your plié.

Your toes claw and your feet grip the floor, and slowly pulling your legs into the plié. Reach for the ceiling with your head. You should not see an abrupt drop in height or any jerky movements. Your knees are moving outward, but you barely see a downward movement. That’s because the energy you are using to stretch up is equal to the energy you are putting into your feet and legs.

You are stretching up the back of your neck and trying not to bend your knees. You feel a stretch in your hips as your legs move away from each other. You are pulling in your stomach muscles tightly. You are trying to keep your pelvis up.

The almost-isometric plié is hard work! You can feel that all of your muscles are engaged—from your toes through the foot to your ankles, the outside of your lower legs, your knees, your thighs, your hips, up the front of your body and the back of your neck.

It’s not how low you go; it’s HOW you go. What is important is that the plié begins and ends with your toes.

Now change your thoughts. You relax your feet and spread your toes. You are pressing down on the floor with your feet. Slowly, imperceptibly, your legs are in motion, and you realize you are standing as you began, in the triangle position.

The almost-isometric plié is an “invisible” movement. On count 1, you are standing with straight legs, and on count 8, you are in plié, but you never saw the downward movement. The ascending movement is also “invisible.” You are in plié, and eight counts later, you are standing in the triangle, but when did it happen?

Especially at the barre, try to make all of your pliés—large and small, two feet or one foot, slow or fast—almost isometric. Try to do this in center floor as well, tempo permitting. Then you will always have a plié which will enable you to move with strength and control.

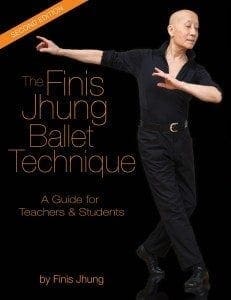
(Excerpted and REVISED from my book The Finis Jhung Ballet Technique: A Guide for Teachers & Students

To learn more about this idea, check out my newest barre videos – http://finisjhung.com/shop/ballet-barre-for-the-adult-absolute-beginner-2/ and http://finisjhung.com/shop/beginner-ballet-barre-2/