“THE NUTCRACKER” BALLET – A LOOK BEHIND THE CURTAIN: Life Lessons Learned Performing the Timeless Holiday Classic

“THE NUTCRACKER” BALLET – A LOOK BEHIND THE CURTAIN:

Life Lessons Learned Performing the Timeless Holiday Classic

It’s clear – the holidays are here! Amid the hustle and bustle of the shopping season, most important are those annual traditions that bring us all together – as families and as a culture. For me, nothing signifies the start of the season like the return of “The Nutcracker.”

Appreciation for this holiday classic spans generations and borders. In fact, for the next few weeks, versions will fill stages across the country – and the world. Joyfully, the performances will feature dancers of all ages, backgrounds and experience levels. How many promising dance careers were launched in the warmth of a theater in December, as young sons and daughters were inspired by the artistry and athleticism on display?

Children are not alone in being captivated by the choreography in “The Nutcracker.” The music is familiar and irresistible —certainly a few parents would admit to trying to pull off a few steps when they thought nobody was looking. If you accidentally kicked over some furniture or tweaked a hamstring – don’t be discouraged. Every journey begins with a single step. However, it’s usually best not to start with the hardest one.

As a teacher of adult beginners, I encourage my new students to focus on the long-term benefits of dance, and not on “looking pretty.” Ballet will make you stronger, more graceful and improve your balance – in everything that you do. My own experiences in performing “The Nutcracker,” however, are proof that this success isn’t always overnight:

“It was Christmas in ’55 and all through the house, Finis was fuming, not even a mouse.” – I vividly recall sitting alone in the dark in the theater at The University of Utah, watching a dress rehearsal for the “Nutcracker” and feeling as lonely as could be. It was Christmas, and we just didn’t have the money to fly me to my Mom in Hawaii. Meanwhile, I wasn’t even ready to be a mouse in our production. And I felt just that small.

Still, I was determined to work harder to grow my ballet technique. Only three years later, I danced the “Snow Prince” plus the Spanish and Russian dances in our production. What great preparation for later in life, when I would be a father, teacher and student – all at once. My adult beginners, too, understand the complexities of balancing many roles with energy and passion. The versatility and perspective that adult beginners bring to dance can speed progress and understanding.

The biggest obstacle to achievement for the adult learner is sometimes vanity. I know this too, from experience. In 1960 I performed the Russian ribbon dance in “The Nutcracker” with Michael Smuin of the San Francisco Ballet. Trying to keep up with Michael, the best jumper and turner in the company— doing double air turns across the stage while holding beribboned batons with both hands high above my head—had me bouncing all over the vast opera house stage. Repetition and practice – my usual solution – failed to correct the issue and left my confidence shaken.

My mental block was cured only when I realized that I was focused on trying to look text-book perfect (forcing my turnout and pulling up so much I looked like I was dancing on egg shells), instead of using my body as it was built and the correct body mechanics I had learned from Bill Christensen at the U of Utah. I was working outside of my own body!

It took several years to overcome the mental block of falling all over the stage, but by 1965 I had regained my technique. While dancing with the Harkness Ballet of New York in Cannes, I successfully performed sixty-four double air turns over the course of a single weekend. Four performances, without a hitch – occasion enough for the director to give me a bottle of champagne to celebrate as he thought I had set a new record for double air turns.

I offer this advice – learned by performing in the Nutcracker – to both students and teachers this holiday season:

  1. Take the time to celebrate your own personal and professional accomplishments
  2. Fearlessly pursue new challenges, especially those that promise to bring strength and balance to your life
  3. See “The Nutcracker” ballet! The music is glorious and the story is timeless. I promise you will be truly inspired
Private Class with Finis

Balance Your Arabesque

How to place the first arabesque

Beginner Ballet Movement Skills. Lesson 2.
For detailed instructions, see my video, Basic Ballet Movement Skills, Lesson 2.

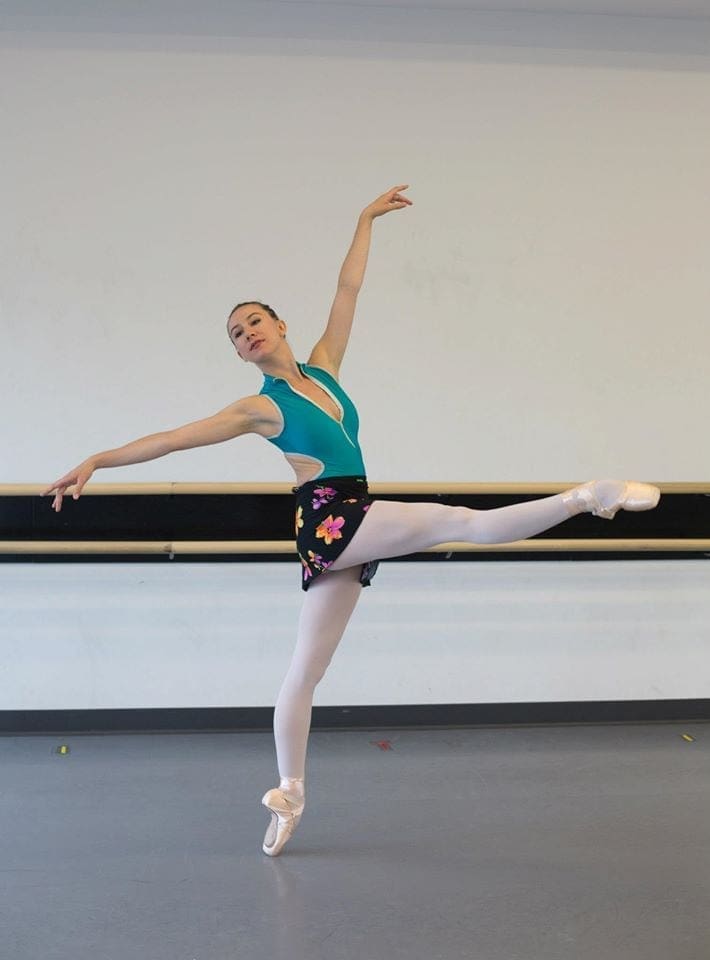
The beauty of the arabesque depends on the correct placement of the head. The head must be centered on a high chest with energy going up the back of the neck. Stand in front of the mirror in first arabesque on the right foot. Your left arm is in second position, your right arm is extended forward defining the first arabesque position. Do not tilt your head to the right towards your right shoulder and arm. This is why you fall forward when you attempt a piqué arabesque (stepping directly on the half-toe). When you pose in arabesque on your right foot, use your left arm for balance. Reach out and towards the back with your left arm as you extend your R arm forward. Keep your shoulders level with the floor as you press down on the air with both arms. Standing on the right foot, think of listening to the music with your left ear. The rule of balance: Ears Back!

EARS BACK!

An upright posture indicates good health and strength. Keep your ears up and back above your shoulders. Stretch up the back of your neck. Keep your eyes and ears as far from the floor as possible. Keep your head centered above a high chest. Feel the light on your cheekbones and chest. Lead with your hips. Walk proudly. Look good for the rest of your life.

Positions are Functional

Positions are Functional


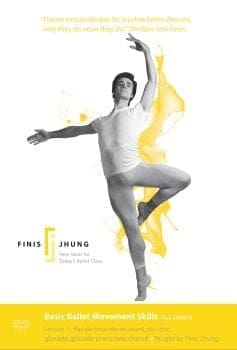
The classical ballet body positions are based on logic and are functional. When we use them as we dance across the floor, we are able to maintain our balance and move with control and grace. For instance, when making a tombé pas de bourrée forward from corner 6 to corner 2, we usually begin stepping out on the right foot. Most beginning students have trouble with this step. Instead of beginning with a pose in effacé devant (the head placed over the left shoulder and eyes focused in line with that shoulder) they tilt their head to the right, look straight ahead, and lean over the right foot. As a result, they have all their weight moving in the same direction at the same time which makes them stumble and get behind the music. If they would start out in a proper effacé devant pose—and look away from where they are going—they will then be able to balance the forward movements of their feet and legs and move with control and grace. NYCB Soloist Antonio Carmena demonstrates this beautifully in my instructional video “Basic Ballet Movement Skills Lesson 1.”

Basic Ballet Movement Skills: Lesson 1 (2013)

Glide Your Glissade

Glide Your Glissade: When you glissade sideways in second position, keep your body over the foot that pushes, not the foot that glides or brushes out. In general, students tend to let their bodies follow the foot that brushes out which makes them clunk or lurch over that foot and creates a movement that looks abrupt and uncontrolled. If you are making a glissade to the left side, you should reach to the right and keep your head connected to the right foot while the left foot brushes out. When the right foot pushes away from the floor, your body will be pushed up and over to the left foot, and the right foot that just pushed will then brush into the fifth position. When moving to the left, look towards the diagonal right and keep your weight to the right. In other words, don’t let the foot that brushes out pull your body to it. Wait for the foot that is going to brush in (the right foot) to push you away from the floor and over to the foot that brushed out. Done this way, your movement GLIDES smoothly and gracefully across the floor—which is why it is called a GLISSADE. This movement is broken down and demonstrated beautifully by City Ballet Soloist Antonio Carmena in the Finis Jhung instructional video “Basic Ballet Movement Skills Lesson 1.”


Basic Ballet Movement Skills: Lesson 1 (2013)

Airborne!

This is one of the most useful videos Finis has created because it not only teaches you how to jump, it also teaches you how to dance BIG. Learn how to execute connecting movements such as the glissade and pas de bourrée so that they become preparations for little jumps such as the jeté and assemblé. Finis shows each exercise, step-by-step, count-by-count, and then it is expertly demonstrated. Finis analyzes and corrects each exercise and then it is repeated with noticeable improvement.  And that is because Finis shows you how to use opposition through your torso and arms in order to facilitate the movements of the feet and legs. Wouldn’t you like to look in the mirror and see yourself standing in the air? You can, and will, when you learn what Finis teaches in this video. Get the streaming version so you can coach yourself  before each class. Transform yourself from earth-borne to airborne.

The Finis Jhung Ballet Technique Level 4: Intermediate Centerwork on Jumps (2005)

Lift & Kick versus Reach & Push

As you dance forward across the center floor with a battement fondu developpé relevé, it’s a good idea to remember how Gail Grant defines it in “The Technical Manual and Dictionary of Classical Ballet”: “As the supporting leg straightens, the dancer rises to the demi-pointe and performs a developpé at 45 or 90 degrees.”  Sadly, many ballet students execute this step backwards: First they lift and kick the developpé and then use that momentum to lift the supporting heel and pull the supporting leg straight. This pulls your weight away from the supporting toe, looks jerky, and makes you look clumsy.

Here’s how to look better: Reach forward as far as possible with what will be your supporting leg. Point that foot strongly. Correctly align that foot so that it will be under your body on half-toe. Press down firmly on the floor with the ball and toes of your supporting foot. This will make you rise to the half-toe on a straight leg. As you push down and rise, the back foot will automatically be brought forward—it will follow your supporting foot—and then you will complete the developpé. Always time your movements with the transfer of weight to the supporting foot and leg.

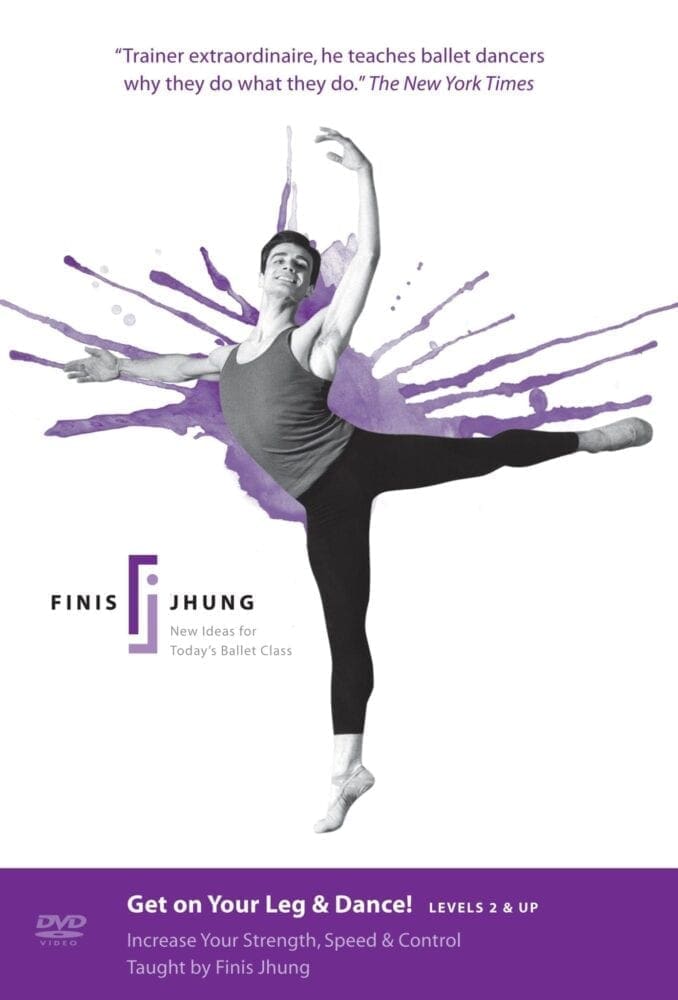
Get On Your Leg & Dance! (2011)