JUMP TIP #1


JUMP TIP #1

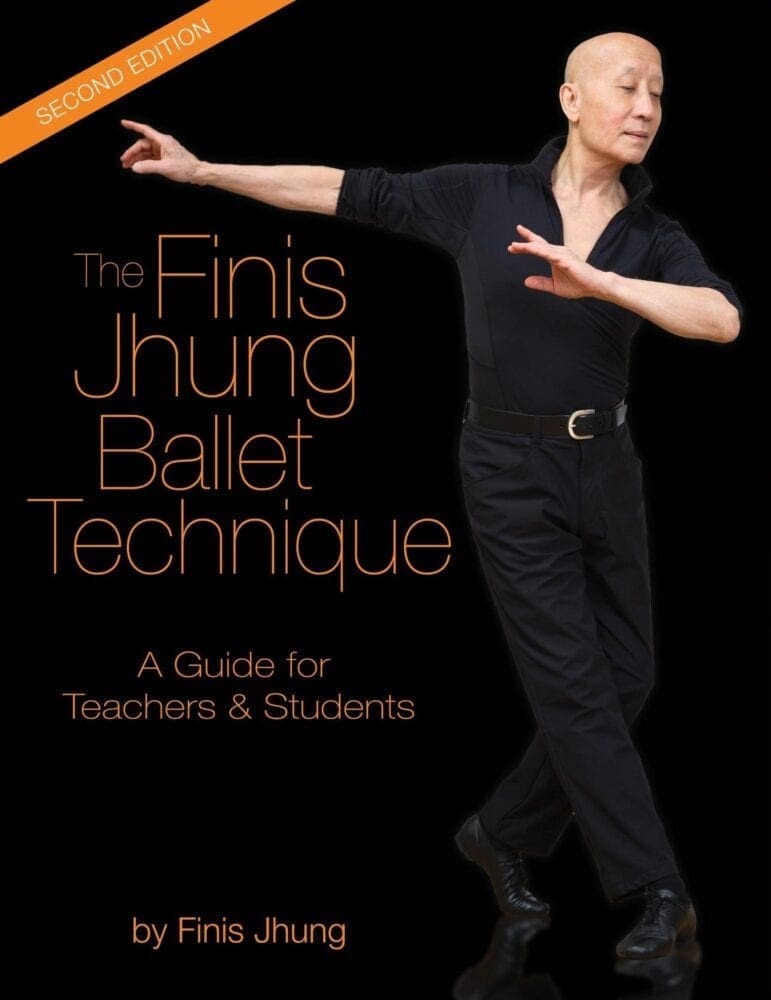
Bounce like a rubber ball: When teaching jumps, use a rubber ball (Spalding is best) to show your students how you want them to bounce off the floor. Raise the hand holding the ball as far from the floor as possible and then bounce the ball as quickly as possible. Point out that the ball does not sit on the floor—you don’t see the ball on the floor. You see it going up. In the same way, when your students plié to jump, their feet should not rest on the floor. They must not plié slowly. They should be stretched up strongly in Number 1, keep their hips up high, make the plie almost isometric, and jump with a fast minimal push from the knee. They should focus on the action of the foot going from flat on the floor to being pointed in the air. Concentrate on the pushing the floor as quickly as possible using the ankle, instep, and toes. Push and point— QUICKLY! For more detailed instructions like this, use “The Finis Jhung Ballet Technique: A Guide for Teachers & Students.”

Guidebook

Glide Your Glissade

Glide Your Glissade: When you glissade sideways in second position, keep your body over the foot that pushes, not the foot that glides or brushes out. In general, students tend to let their bodies follow the foot that brushes out which makes them clunk or lurch over that foot and creates a movement that looks abrupt and uncontrolled. If you are making a glissade to the left side, you should reach to the right and keep your head connected to the right foot while the left foot brushes out. When the right foot pushes away from the floor, your body will be pushed up and over to the left foot, and the right foot that just pushed will then brush into the fifth position. When moving to the left, look towards the diagonal right and keep your weight to the right. In other words, don’t let the foot that brushes out pull your body to it. Wait for the foot that is going to brush in (the right foot) to push you away from the floor and over to the foot that brushed out. Done this way, your movement GLIDES smoothly and gracefully across the floor—which is why it is called a GLISSADE. This movement is broken down and demonstrated beautifully by City Ballet Soloist Antonio Carmena in the Finis Jhung instructional video “Basic Ballet Movement Skills Lesson 1.”


Basic Ballet Movement Skills: Lesson 1 (2013)

CAUTION!

The more you practice incorrectly the better you get at doing it wrong. It does not matter how many classes you take—wrong will never be right. Open your mind to the possibilities of new ways to do old things.Try doing things differently and surprise yourself.

Airborne!

This is one of the most useful videos Finis has created because it not only teaches you how to jump, it also teaches you how to dance BIG. Learn how to execute connecting movements such as the glissade and pas de bourrée so that they become preparations for little jumps such as the jeté and assemblé. Finis shows each exercise, step-by-step, count-by-count, and then it is expertly demonstrated. Finis analyzes and corrects each exercise and then it is repeated with noticeable improvement.  And that is because Finis shows you how to use opposition through your torso and arms in order to facilitate the movements of the feet and legs. Wouldn’t you like to look in the mirror and see yourself standing in the air? You can, and will, when you learn what Finis teaches in this video. Get the streaming version so you can coach yourself  before each class. Transform yourself from earth-borne to airborne.

The Finis Jhung Ballet Technique Level 4: Intermediate Centerwork on Jumps (2005)

Lift & Kick versus Reach & Push

As you dance forward across the center floor with a battement fondu developpé relevé, it’s a good idea to remember how Gail Grant defines it in “The Technical Manual and Dictionary of Classical Ballet”: “As the supporting leg straightens, the dancer rises to the demi-pointe and performs a developpé at 45 or 90 degrees.”  Sadly, many ballet students execute this step backwards: First they lift and kick the developpé and then use that momentum to lift the supporting heel and pull the supporting leg straight. This pulls your weight away from the supporting toe, looks jerky, and makes you look clumsy.

Here’s how to look better: Reach forward as far as possible with what will be your supporting leg. Point that foot strongly. Correctly align that foot so that it will be under your body on half-toe. Press down firmly on the floor with the ball and toes of your supporting foot. This will make you rise to the half-toe on a straight leg. As you push down and rise, the back foot will automatically be brought forward—it will follow your supporting foot—and then you will complete the developpé. Always time your movements with the transfer of weight to the supporting foot and leg.

Get On Your Leg & Dance! (2011)

Turn Your Leading Arm

Whether you pirouette en dehors (turning to the right on your left foot) or pirouette en dedans (turning to the right on your right foot) go ahead and use the right arm to initiate and complete the turn. When you turn to the right and fall to the right, it is because you are bringing your left side to the right. Divide your body in half: left side, right side. Learn to keep them apart—the left stays left, the right stays right. One side should lead the other. One side is more important than the other. First you do this, then you do that. For both turns to the right, first reach back and twist to the left, and leave it there. Then turn your right arm back and around to the completion. It doesn’t matter what leg you are on. As long as you turning to the right, lead with the right arm. And, vice-versa. And don’t forget to give the supporting knee a push past the toes and press the ball of your feet firmly to the floor. And, spot! Check out the video on inside turns: https://finisjhung.com/shop/pirouette-class-3/

You are a Star

A star has five points. So do you: your head, your fingertips, and your toes. Energy radiates from the center of your body up through your head and out of your eyes; down both legs and out of your toes; up through your chest and out through your arms and hands. Turn out, stretch out, look out, breathe out, move out. Keep pushing in all directions all the time. Never stop and you will dance better than ever.

Dance with Your Feet

Try to dance more with your feet rather than your legs. Do less dancing with your thighs and knees and more with your feet. Your feet should never be passive. Your supporting foot should never wobble if you are working from it, and it should push the floor to move your body. Your free foot or gesture foot should point the free leg where you want it to be. When you make a battement tendu or dégagé, even a developpé, think of where that free foot goes and let it bring the free leg to the position. Try it.