A PLIÉ IS NOT A PLIÉ

A PLIÉ IS NOT A PLIÉ

Go beyond the position. What are you going to do with that demi-plié in fifth position? What is it for? If you are making the plié as a preparation for a pirouette, pose, or jump, make sure you place your weight over what will be your supporting toe. This will make it much easier for you to rise perfectly balanced on one foot. Form follows function. More details on this idea are in my instructional video “Use Your Head & Turn!”

Use Your Head & Turn!

The Biggest Challenge –

The biggest challenge a dancer faces each day is being able to repeat the correct preparation—for a balance, turn, or jump—over and over, day after day—with a sense of newness and discovery. It’s always the same, but you have changed.

JUMP TIP #1


JUMP TIP #1

Bounce like a rubber ball: When teaching jumps, use a rubber ball (Spalding is best) to show your students how you want them to bounce off the floor. Raise the hand holding the ball as far from the floor as possible and then bounce the ball as quickly as possible. Point out that the ball does not sit on the floor—you don’t see the ball on the floor. You see it going up. In the same way, when your students plié to jump, their feet should not rest on the floor. They must not plié slowly. They should be stretched up strongly in Number 1, keep their hips up high, make the plie almost isometric, and jump with a fast minimal push from the knee. They should focus on the action of the foot going from flat on the floor to being pointed in the air. Concentrate on the pushing the floor as quickly as possible using the ankle, instep, and toes. Push and point— QUICKLY! For more detailed instructions like this, use “The Finis Jhung Ballet Technique: A Guide for Teachers & Students.”

Guidebook

CAUTION!

The more you practice incorrectly the better you get at doing it wrong. It does not matter how many classes you take—wrong will never be right. Open your mind to the possibilities of new ways to do old things.Try doing things differently and surprise yourself.

Airborne!

This is one of the most useful videos Finis has created because it not only teaches you how to jump, it also teaches you how to dance BIG. Learn how to execute connecting movements such as the glissade and pas de bourrée so that they become preparations for little jumps such as the jeté and assemblé. Finis shows each exercise, step-by-step, count-by-count, and then it is expertly demonstrated. Finis analyzes and corrects each exercise and then it is repeated with noticeable improvement.  And that is because Finis shows you how to use opposition through your torso and arms in order to facilitate the movements of the feet and legs. Wouldn’t you like to look in the mirror and see yourself standing in the air? You can, and will, when you learn what Finis teaches in this video. Get the streaming version so you can coach yourself  before each class. Transform yourself from earth-borne to airborne.

The Finis Jhung Ballet Technique Level 4: Intermediate Centerwork on Jumps

Lift & Kick versus Reach & Push

As you dance forward across the center floor with a battement fondu developpé relevé, it’s a good idea to remember how Gail Grant defines it in “The Technical Manual and Dictionary of Classical Ballet”: “As the supporting leg straightens, the dancer rises to the demi-pointe and performs a developpé at 45 or 90 degrees.”  Sadly, many ballet students execute this step backwards: First they lift and kick the developpé and then use that momentum to lift the supporting heel and pull the supporting leg straight. This pulls your weight away from the supporting toe, looks jerky, and makes you look clumsy.

Here’s how to look better: Reach forward as far as possible with what will be your supporting leg. Point that foot strongly. Correctly align that foot so that it will be under your body on half-toe. Press down firmly on the floor with the ball and toes of your supporting foot. This will make you rise to the half-toe on a straight leg. As you push down and rise, the back foot will automatically be brought forward—it will follow your supporting foot—and then you will complete the developpé. Always time your movements with the transfer of weight to the supporting foot and leg.
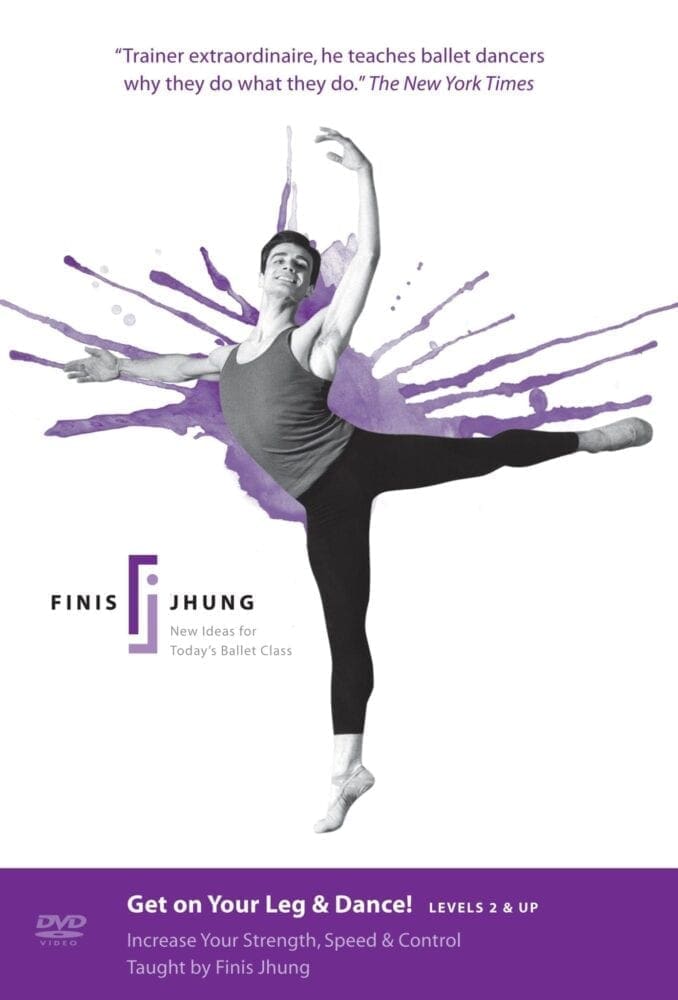
Get On Your Leg & Dance!

You are a Star

A star has five points. So do you: your head, your fingertips, and your toes. Energy radiates from the center of your body up through your head and out of your eyes; down both legs and out of your toes; up through your chest and out through your arms and hands. Turn out, stretch out, look out, breathe out, move out. Keep pushing in all directions all the time. Never stop and you will dance better than ever.

Dance with Your Feet

Try to dance more with your feet rather than your legs. Do less dancing with your thighs and knees and more with your feet. Your feet should never be passive. Your supporting foot should never wobble if you are working from it, and it should push the floor to move your body. Your free foot or gesture foot should point the free leg where you want it to be. When you make a battement tendu or dégagé, even a developpé, think of where that free foot goes and let it bring the free leg to the position. Try it.

Don’t pull up. Push down!

You’re always stretched up and standing tall in Number 1, but when you plié-relevé there is a distinct difference in how you move and look according to the way you do it. Here’s how to get the feeling of making your plié relevé correctly.  Stand in front of a wall, arms-length away, place both hands on the wall, and lean in so both elbows are bent. Slowly push yourself away from the wall. Your elbows straighten because you push the wall. Continue pushing until your hand leaves the wall and you are pushing the wall with just your fingertips. In the same way, your legs straighten when you relevé because you are pushing down on the floor. Driving down in order to go up—pushing down to relevé—instead of trying to pull yourself up—sends your weight down into the floor and gives you better balance and fluidity of movement. Try it.