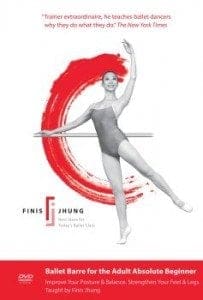
Why do we demi-plié? In order to spring up on half-toe or jump, and then to lower ourselves to the starting position. When you make a deep demi-plié with feet and legs relaxed you must then pull up out of the plié which will tend to set you back on your heels, make you fall off your turns, and lessen your elevation. You don’t need—or want—a deep, relaxed demi-plié—but you do need strong feet and ankles. Every movement we make comes from the floor. It begins with our toes and ends with our toes. In order to strengthen your feet and ankles, try to initiate your movements with an almost-isometric plié. I say “almost” because if it were simply isometric you would not move at all. Almost-isometric means that you move quietly and steadily with steely strength and intense opposition. The upward energy through the back of your neck equals the downward energy in your toes, feet, and ankles. Here’s how to learn what the almost-isometric plié feels like: Flatten both hands. Place one atop the other, palms down, fingers in opposite directions. Curl your fingers over each other. Grip strongly and pull as hard as you can without uncurling the fingers. Can you feel the muscles working in your fingers, hands, arms and shoulders? Now do this with your feet and legs. Stand in first position, grip the floor with toes curled and arches domed—you will feel your ankles tense—and slowly pull your knees into a small demi-plié. Resist the downward movement by stretching the back of your neck, keeping your hips as far from the floor as possible. The plié is minimal. Don’t lift your heels. You should feel a line of muscular engagement from your toes all the way up to your hips. Don’t think position; think power. Now you are ready to relevé: quickly press the balls of your feet against the floor, flatten your toes, and spring up to the half-toe. Keep driving your weight down through the floor until your legs are straight. Keep pushing your insteps over your spread toes. You should balance easily as long as you are in “Number 1” (correct posture). Try this with battement fondu en croix. Try it with a pirouette en dehors from both fifth and fourth positions. Yes, I know it is not in the ballet books. But we haven’t always had TV, the internet, and hip and knee replacements. Times have changed. So should you. This is explained in detail in my instructional video “Ballet Barre for the Adult Absolute Beginner” which is available on my website and Amazon.

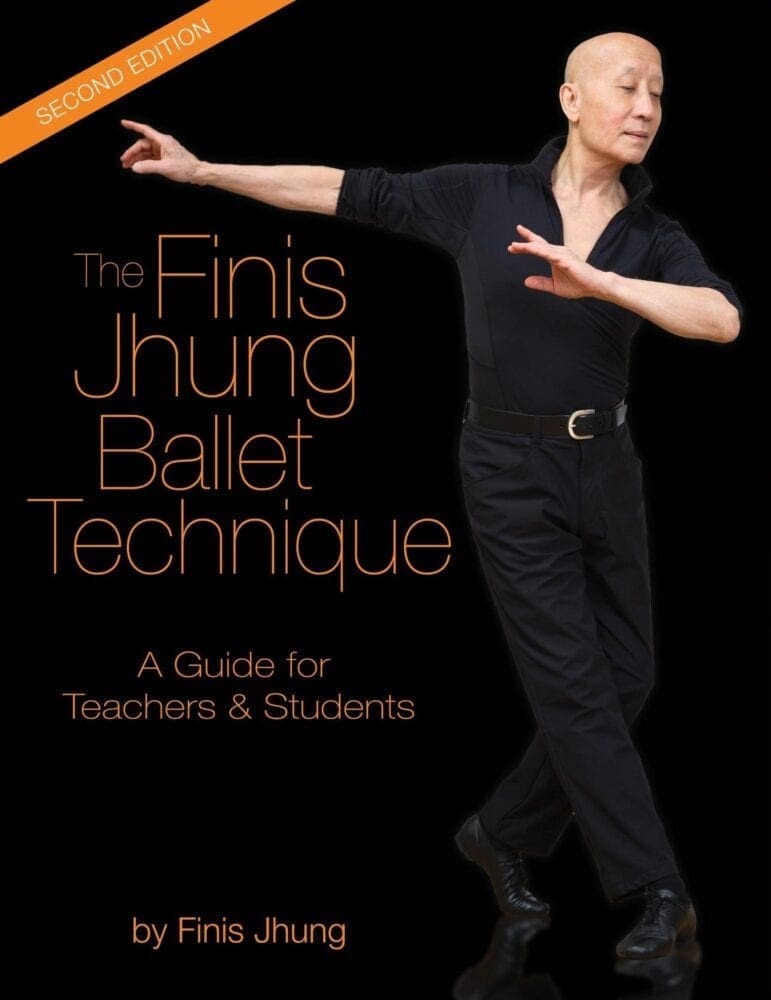
 Excerpted from my book The Finis Jhung Ballet Technique: A Guide for Teachers & Students
 #3 Ears back!