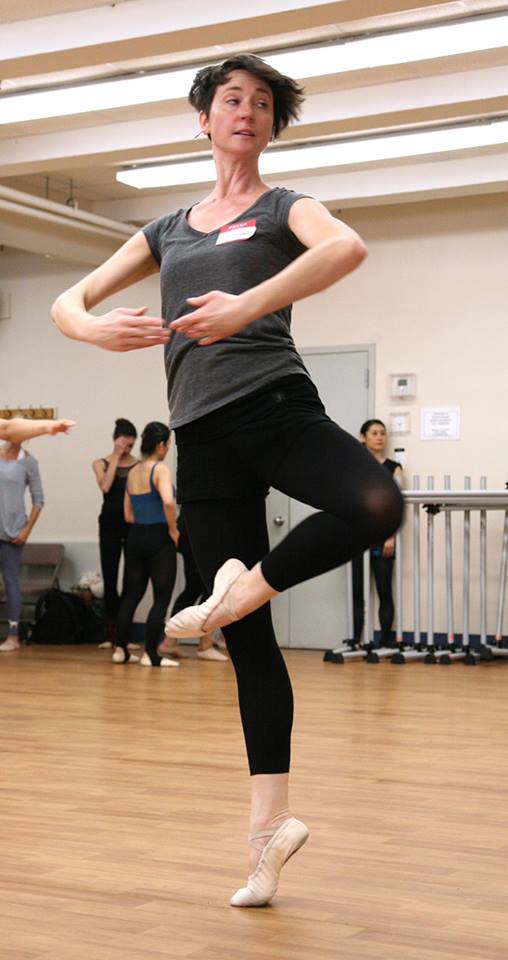
More about practicing the pirouette en dehors in promenade –
Remember that you always have a “back shoulder.” You can’t have both shoulders moving in the same direction at the same time, because this puts too much weight on one side of your body. It will make you lose your balance. Even though you will be bringing your left arm to first position as you promenade and turn, you must not move your left shoulder forward. You must keep your left shoulder “back” and over your left toes.
Sometimes I describe this as “the rule of one”—when turning, you should only move one shoulder or arm at a time. In this case, first you move your left shoulder and arm back as you lower into plié and then you move your right shoulder and arm back as you turn the plié.
Think of it this way: first you move this shoulder, and then you move the other. Only move one shoulder at a time.
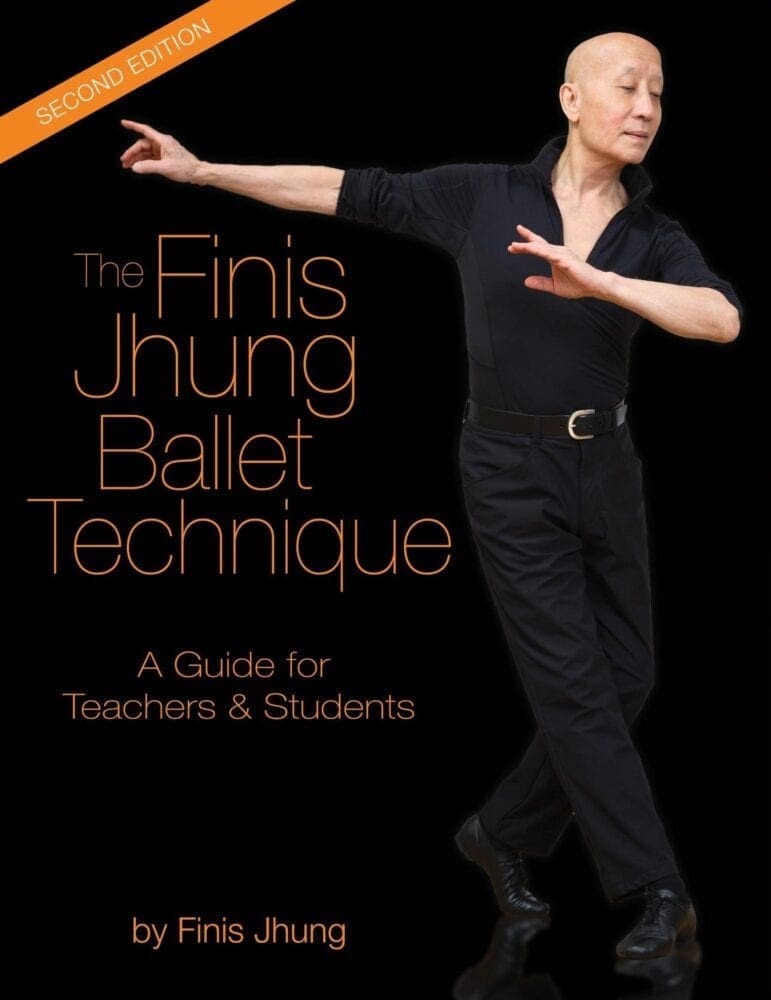
Excerpted from my book “The Finis Jhung Ballet Technique: A Guide for Teachers & Students”
https://finisjhung.com/shop/guidebook/
Pictured: Belle McDonagh of The Elancé Adult Ballet School, Victoria, AU at the FJ Teacher Workshop 2015 (photo by Stephen von der Launitz)

 Excerpted from my book The Finis Jhung Ballet Technique: A Guide for Teachers & Students
 Pirouette Reminder: When you pirouette from fourth position, and you stop and hold the plié, make sure you “double the plié”—release it a bit and give that supporting knee a second push PAST the supporting toes. This will make sure you don’t pull up and fall away from your supporting toes and, instead, enable you to drive your weight down into the floor for a well-balanced pirouette. Check out all the component parts in my instructional video “Pirouette Class 2.”
 #3 Ears back!