Adult Babies Down Under

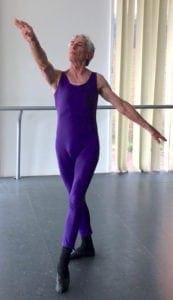
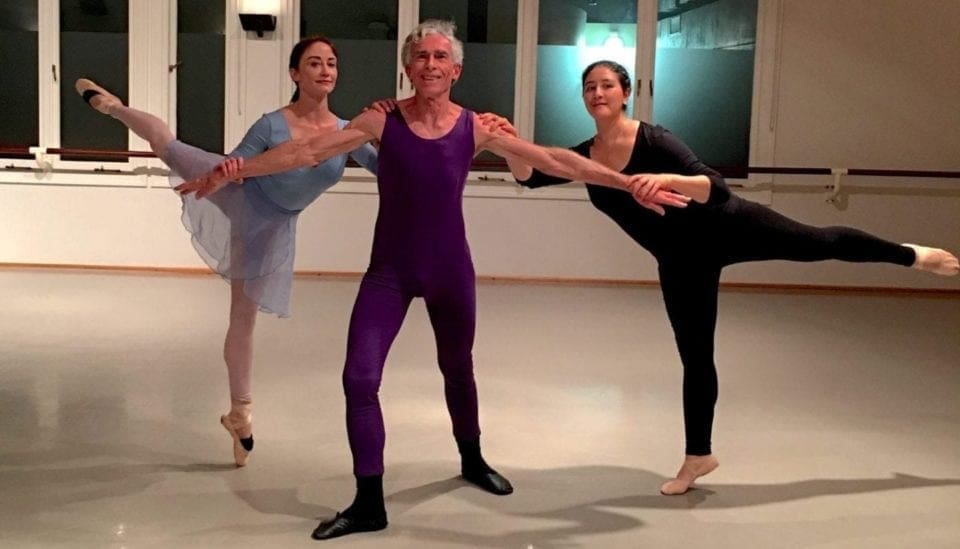
Pictured above: Russell with two lovely partners, Claire and Christina.

I call my adult students my “ballet babies” because, like young children, they are so eager to learn, are “pure” in that they have no pre-conceived notions, and dance as if there is no tomorrow. Some of my babies are teachers and students who live in Australia. Some have attended my workshops; all use my videos and music; and most have my memoir Ballet for Life.  Russell Merriman lives in Bicton, Western Australia, and began studying with my streaming videos this year.

In his own words…

Streaming from Perth Western Australia is phenomenal. It is simple to log on and there are no delays in finding my videos. I am a ‘mature’ student. I turn 75 years of age on July 19. My ballet has improved dramatically since I started using your streaming videos. I have started pas de deux and my partner who was a professional ballet dancer thinks that I am a ‘natural.’ I purchased your Partnering Techniques DVD.

My first dance technique was contemporary dance. While a student at Flinders University of South Australia I attended a week-long workshop at Australian Dance Theatre in Adelaide. I was aged 30 years and very stiff and inflexible. I was excited when, at the end, we performed a dance to the song of Buffy Sainte-Marie: God is alive, Magic is afoot. How prescient for my life!

I then joined a small group of dancers at Flinders University and after we performed, I was ‘hooked.’ I moved to Perth in 1974 and commenced contemporary dance classes with Ruth Osborne, wo taught the Graham Technique. After I turned 40, I found an introduction to ballet of eight free classes. After discovering pirouettes I never stopped.

Around the same time, I joined the Keszkeno Hungarian Dance group. I was mesmerized by the athleticism of the male dancers and remained with the group until 2016. We performed at concerts in Sydney, Melbourne, Brisbane, and Hungary. I had to stop Hungarian dance as an old ankle injury couldn’t cope with the stamping.

I continued ballet classes, and my first brief ballet performance in October 2017 included a ‘mini’ pas de deux which introduced me to the delights of partnering.

I am indebted to Heather Callander who has been my teacher for over 30 years. She told me about the videos of Finis Jhung which allowed my enthusiasm for ballet to expand. She uses his concepts in her teaching. Justin McNamara has been instrumental in his beginner classes in teaching me the fundamentals of posture and balance. Justin says he ‘Really found it so helpful the way Finis explains the way to approach teaching the use of arms for beginners in classical ballet and the example for pirouettes of the kids toy where to make it spin you push down to make it turn.’

I have found that the secret of ballet is that it is anti-gravity as the movement is all UP. This lengthens the spine and frees up space in the joints. Obviously this counteracts the normal effect of aging where people ‘shrink’ and their body contracts. The change in one’s posture from ballet can be dramatic (mine has) and it results in new breathing patterns. So, like Finis, I will never give up.

PS: My favorite video right now is The Art of Teaching Jumps. I’ve had double hip-surgery, but will persist with patience and determination for my share of air-time.

—Russell Merriman

NOTE FROM FINIS JHUNG: And I just recommended Ballet Barre Foot Strength Exercises to help Russell strengthen his feet and ankles so he can jump higher.

7 Keys to the Finis Jhung Ballet Technique

  1. The demi-plié is almost isometric. In both the downward and upward movements, the feet—rather than the knees—should initiate the movements. The feet grip the floor and pull the legs into the plié and then relax and push down to return the legs to the standing position. This also applies to pliés on one foot.
  2. Most dance movements are on one leg. What must be developed at the barre is the ability to balance on and move from one foot. Try to work at portable barre placed parallel to the mirror. Stand behind the barre, on the diagonal. This will allow you to keep an eye on your supporting side and encourage you to work correctly. Test your balance by frequently taking your hand off the barre during exercises. In addition, check your readiness to move. You should always be able to rise off your heel whenever you press down on the floor.
  3. The supporting leg controls the free leg, and initiates each movement. The timing of every movement is made by the supporting leg. The free leg (the foot that brushes or slides) never pulls or moves the body. Only the supporting foot that pushes the floor should move the body.
  4. In the center floor, every step you take must be balanced by an arm, or both arms, reaching in the opposite direction. At the barre, develop this sense of the “back arm” by reaching for the barre and pressing down it. Never pull on the barre.
  5. When you pirouette from the fourth position, be sure that you go to “the end of theplié.”
  6. A jump is a relevé in the air. Push the floor, stand in the air.
  7. Overcross the glissade précipitée, which leads into battement fondu developpé relevé, and jumping steps where the free leg is brushed into the air.

A PLIÉ IS NOT A PLIÉ

A PLIÉ IS NOT A PLIÉ

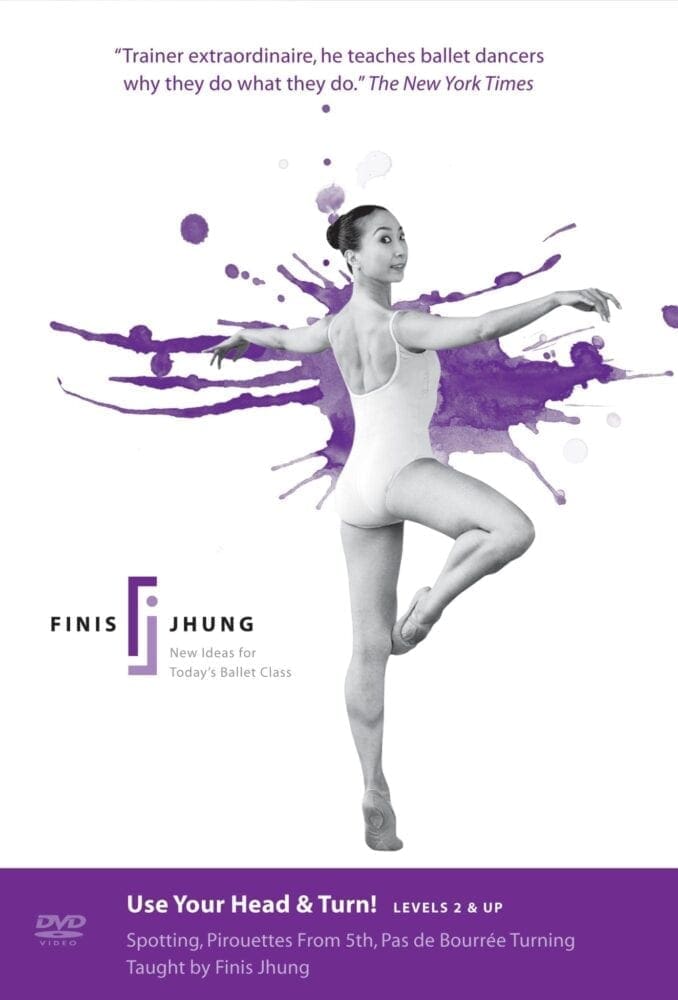
Go beyond the position. What are you going to do with that demi-plié in fifth position? What is it for? If you are making the plié as a preparation for a pirouette, pose, or jump, make sure you place your weight over what will be your supporting toe. This will make it much easier for you to rise perfectly balanced on one foot. Form follows function. More details on this idea are in my instructional video “Use Your Head & Turn!”

Use Your Head & Turn! (2010)

JUMP TIP #1


JUMP TIP #1

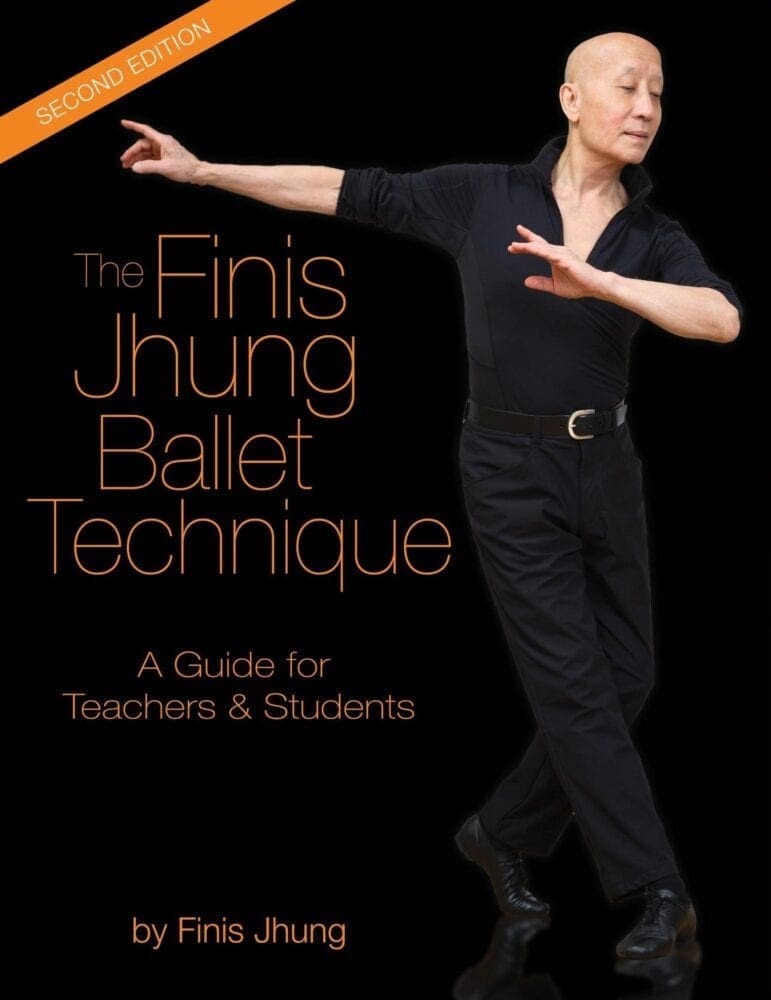
Bounce like a rubber ball: When teaching jumps, use a rubber ball (Spalding is best) to show your students how you want them to bounce off the floor. Raise the hand holding the ball as far from the floor as possible and then bounce the ball as quickly as possible. Point out that the ball does not sit on the floor—you don’t see the ball on the floor. You see it going up. In the same way, when your students plié to jump, their feet should not rest on the floor. They must not plié slowly. They should be stretched up strongly in Number 1, keep their hips up high, make the plie almost isometric, and jump with a fast minimal push from the knee. They should focus on the action of the foot going from flat on the floor to being pointed in the air. Concentrate on the pushing the floor as quickly as possible using the ankle, instep, and toes. Push and point— QUICKLY! For more detailed instructions like this, use “The Finis Jhung Ballet Technique: A Guide for Teachers & Students.”

Guidebook

CAUTION!

The more you practice incorrectly the better you get at doing it wrong. It does not matter how many classes you take—wrong will never be right. Open your mind to the possibilities of new ways to do old things.Try doing things differently and surprise yourself.

Airborne!

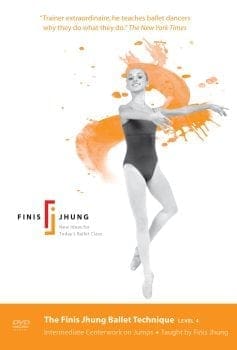
This is one of the most useful videos Finis has created because it not only teaches you how to jump, it also teaches you how to dance BIG. Learn how to execute connecting movements such as the glissade and pas de bourrée so that they become preparations for little jumps such as the jeté and assemblé. Finis shows each exercise, step-by-step, count-by-count, and then it is expertly demonstrated. Finis analyzes and corrects each exercise and then it is repeated with noticeable improvement.  And that is because Finis shows you how to use opposition through your torso and arms in order to facilitate the movements of the feet and legs. Wouldn’t you like to look in the mirror and see yourself standing in the air? You can, and will, when you learn what Finis teaches in this video. Get the streaming version so you can coach yourself  before each class. Transform yourself from earth-borne to airborne.

The Finis Jhung Ballet Technique Level 4: Intermediate Centerwork on Jumps (2005)

Don’t pull up. Push down!

You’re always stretched up and standing tall in Number 1, but when you plié-relevé there is a distinct difference in how you move and look according to the way you do it. Here’s how to get the feeling of making your plié relevé correctly.  Stand in front of a wall, arms-length away, place both hands on the wall, and lean in so both elbows are bent. Slowly push yourself away from the wall. Your elbows straighten because you push the wall. Continue pushing until your hand leaves the wall and you are pushing the wall with just your fingertips. In the same way, your legs straighten when you relevé because you are pushing down on the floor. Driving down in order to go up—pushing down to relevé—instead of trying to pull yourself up—sends your weight down into the floor and gives you better balance and fluidity of movement. Try it.