Piqué en Arabesque #2

Piqué en Arabesque #2

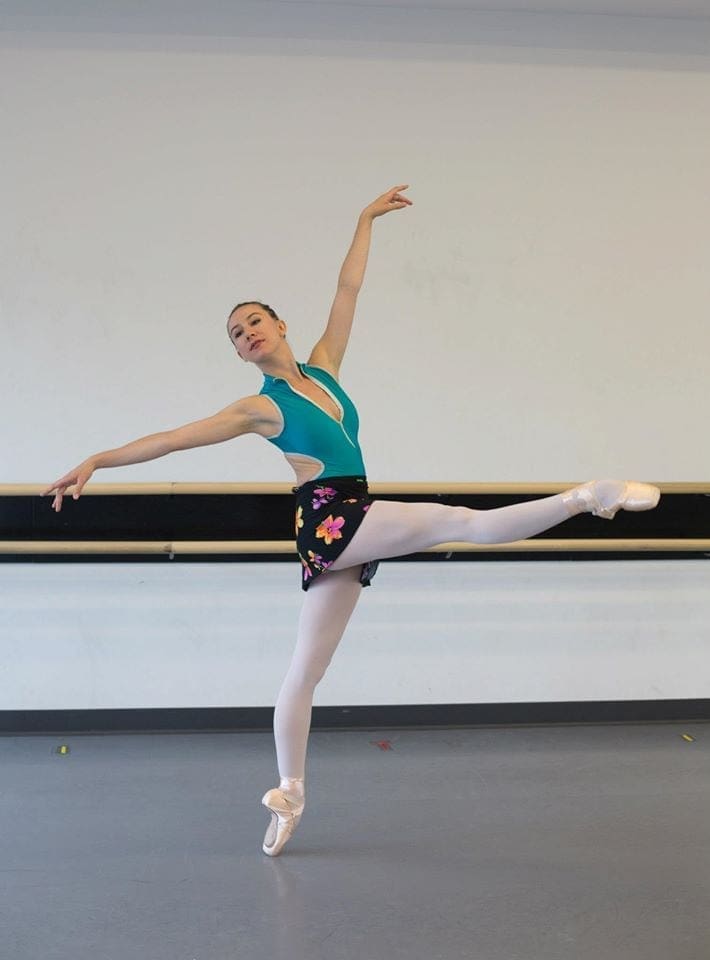
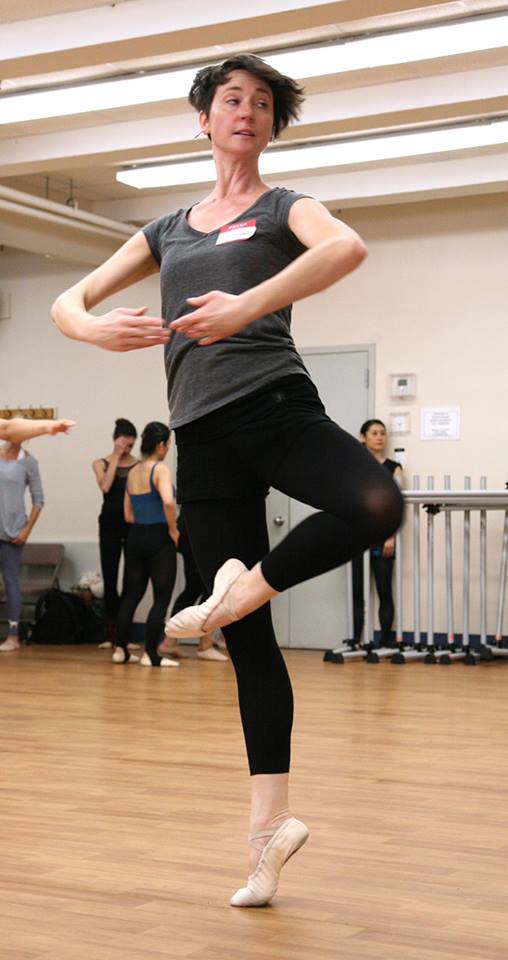
Many students have trouble finding their balance when they piqué in first arabesque. This is the second blog in a series of excerpts from my Guidebook on how to make this all-important step look better.

#2. Walking down the stairs

When you piqué, imagine that you are going down the stairs. On your way down, you don’t lean forward because you will fall. You keep your ears up and your shoulders back. You reach downward for each step with your foot forward and leg extended. After you have placed your foot on the step, you rest momentarily. Use the same principles when you piqué. You may look like you are stepping “up” on your leg when you piqué, but actually you are always stepping down. (Excerpted from “The Finis Jhung Ballet Technique: A Guide for Teachers & Students. Page 274.) http://finisjhung.com/shop/guidebook/

Piqué en Arabesque

Piqué en Arabesque


Many students have trouble finding their balance when they piqué in first arabesque. In the next few blogs, I will present different ideas on how to make this all-important step look better.

 1. Reach out, step over, and push down

Whenever you piqué, whether it’s to a simple pose or a turning pose, always reach your piqué foot and step as far from your back leg as possible. Good dancers, especially those working on pointe, always “show their leg” before they piqué arabesque. You should see your long straight leg with a strongly pointed foot reaching out before you stand on it. Some dancers make a “scooping” movement when they piqué arabesque. As they fondu, they lean forward and let their hips drop back. Instead of reaching out and over and pushing down, they lean forward and piqué with a bent knee. Then they jerk their arms and arabesque legs upward and hold their breath while they try to balance. It looks like they are struggling. That is because they are. I tell my students, “You look like what you do.” If you work correctly, your balance is automatic and effortless. If you work incorrectly, you fight for your balance or miss it completely, and we notice it. For fun and learning, ask your students to bring their dance bags to the center floor. Have them practice their piqué arabesque by stepping over their own bag. This will teach them to keep their ears and shoulders back and not lean forward. It will teach them how to “show their legs” and find an easy balance. (Excerpted from “The Finis Jhung Ballet Technique: A Guide for Teachers & Students. Page 274.)  http://finisjhung.com/shop/guidebook/

Positions are Functional

Positions are Functional


The classical ballet body positions are based on logic and are functional. When we use them as we dance across the floor, we are able to maintain our balance and move with control and grace. For instance, when making a tombé pas de bourrée forward from corner 6 to corner 2, we usually begin stepping out on the right foot. Most beginning students have trouble with this step. Instead of beginning with a pose in effacé devant (the head placed over the left shoulder and eyes focused in line with that shoulder) they tilt their head to the right, look straight ahead, and lean over the right foot. As a result, they have all their weight moving in the same direction at the same time which makes them stumble and get behind the music. If they would start out in a proper effacé devant pose—and look away from where they are going—they will then be able to balance the forward movements of their feet and legs and move with control and grace. NYCB Soloist Antonio Carmena demonstrates this beautifully in my instructional video “Basic Ballet Movement Skills Lesson 1.”

Basic Ballet Movement Skills: Lesson 1 (2013)

Spot!

Spotting makes the difference: After class today, Ari was practicing her pirouette en dehors with arms fifth high. She could not find her balance. The reason was that she was pulling in her supporting arm in order to turn and did it so quickly with so much force she ending up spinning faster than she could spot and could not control the turns. I told her to slow it down a bit and make each spot separate and distinct. First, plié and push down, then snap your head quickly , which will bring your body around, and then bring the arms into position. At first she didn’t get it, but after a few tries she did exactly as instructed and made a multiple pirouette with four sharply spotted turns. We could see each turn separately—her spotting was that clear and distinct and her balance was perfect. She showed us a series of individual balances: one-one-one-one. After she did it, she was amazed. So were we!

Photo of Belle McDonagh (Elance Adult Ballet School, Victoria, Australia) by Stephen von der Launitz

A PLIÉ IS NOT A PLIÉ

A PLIÉ IS NOT A PLIÉ

Go beyond the position. What are you going to do with that demi-plié in fifth position? What is it for? If you are making the plié as a preparation for a pirouette, pose, or jump, make sure you place your weight over what will be your supporting toe. This will make it much easier for you to rise perfectly balanced on one foot. Form follows function. More details on this idea are in my instructional video “Use Your Head & Turn!”

Use Your Head & Turn! (2010)

The Biggest Challenge –

The biggest challenge a dancer faces each day is being able to repeat the correct preparation—for a balance, turn, or jump—over and over, day after day—with a sense of newness and discovery. It’s always the same, but you have changed.

JUMP TIP #1


JUMP TIP #1

Bounce like a rubber ball: When teaching jumps, use a rubber ball (Spalding is best) to show your students how you want them to bounce off the floor. Raise the hand holding the ball as far from the floor as possible and then bounce the ball as quickly as possible. Point out that the ball does not sit on the floor—you don’t see the ball on the floor. You see it going up. In the same way, when your students plié to jump, their feet should not rest on the floor. They must not plié slowly. They should be stretched up strongly in Number 1, keep their hips up high, make the plie almost isometric, and jump with a fast minimal push from the knee. They should focus on the action of the foot going from flat on the floor to being pointed in the air. Concentrate on the pushing the floor as quickly as possible using the ankle, instep, and toes. Push and point— QUICKLY! For more detailed instructions like this, use “The Finis Jhung Ballet Technique: A Guide for Teachers & Students.”

Guidebook

Glide Your Glissade

Glide Your Glissade: When you glissade sideways in second position, keep your body over the foot that pushes, not the foot that glides or brushes out. In general, students tend to let their bodies follow the foot that brushes out which makes them clunk or lurch over that foot and creates a movement that looks abrupt and uncontrolled. If you are making a glissade to the left side, you should reach to the right and keep your head connected to the right foot while the left foot brushes out. When the right foot pushes away from the floor, your body will be pushed up and over to the left foot, and the right foot that just pushed will then brush into the fifth position. When moving to the left, look towards the diagonal right and keep your weight to the right. In other words, don’t let the foot that brushes out pull your body to it. Wait for the foot that is going to brush in (the right foot) to push you away from the floor and over to the foot that brushed out. Done this way, your movement GLIDES smoothly and gracefully across the floor—which is why it is called a GLISSADE. This movement is broken down and demonstrated beautifully by City Ballet Soloist Antonio Carmena in the Finis Jhung instructional video “Basic Ballet Movement Skills Lesson 1.”


Basic Ballet Movement Skills: Lesson 1 (2013)