 Practice the pirouette en dehors slowly with a promenade:
It requires a great deal of patience to teach students to go to “the end of the plié,” but in the end, it’ll be worth it. As I tell my students, “You either know how to turn, or you don’t—it’s not the weather, it’s not the music, it’s not what you’re wearing or how you feel today: it’s you. You must learn to do your preparation correctly!”
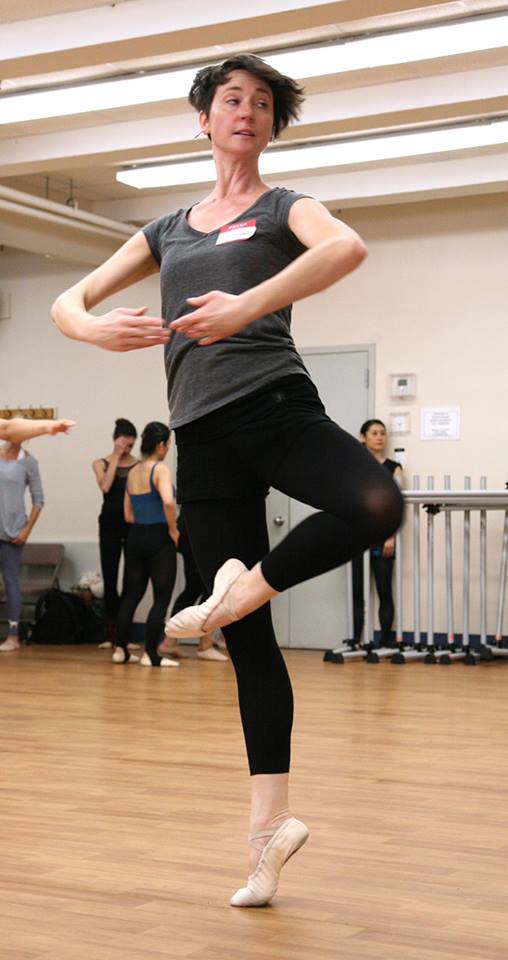
I want to point out that although you begin this preparation facing the mirror in a fourth position, when you turn to “the end of the plié,” you will arrive in a second position on the diagonal (écarté) with your weight over your front foot—with your left arm and knee pointing to corner 8 and your right arm and knee pointing to corner 4.
Your feet have changed from fourth to second; therefore, your arms must also change from fourth to second. Having your arms reaching out in second helps you to balance the final moments of the plié.
Turning your right shoulder and arm to the back while keeping your left arm and shoulder in place marks the crucial moment. Will you see and make “the end of the plié” with both arms stretched open? Your arms must allow your feet and legs to get to “the end of the plié.” Pulling your arms into the finished position before you complete the plié will pull your weight up and away from your supporting toes and put you off balance. This is what makes those dancers we mentioned earlier look like they’re dancing “on top of the floor.”
In fact, this is one of the clues you look for when studying your turns in the mirror. If you are in plié, your arms can’t be closing. Your arms do what your legs do. If both legs are apart and open, so are your arms.
After you see “the end of the plié,” push the floor with both feet, bring your free foot to your knee, your arms to first position, and complete the promenade to the front.
If you make sure that you look for “the end of the plié” each time you turn, then you won’t develop the bad habit of completing your arm movements faster than you can complete your plié preparation.
(Excerpt from my book “The Finis Jhung Ballet Technique: A Guide for Teachers & Students.”)
This exercise is shown and explained in my video “The Art of Teaching Turns” https://finisjhung.com/shop/the-art-of-teaching-turns/

 Practice the pirouette en dehors slowly with a promenade:
 This exercise is shown and explained in my video “The Art of Teaching Turns”
 Excerpted from my book The Finis Jhung Ballet Technique: A Guide for Teachers & Students
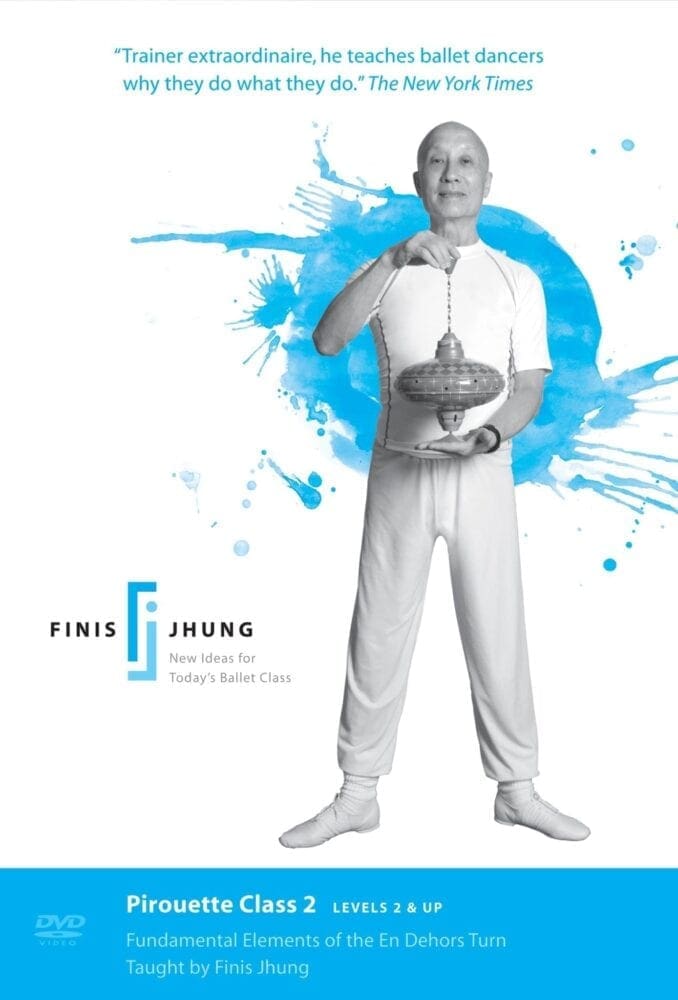
 Pirouette Reminder: When you pirouette from fourth position, and you stop and hold the plié, make sure you “double the plié”—release it a bit and give that supporting knee a second push PAST the supporting toes. This will make sure you don’t pull up and fall away from your supporting toes and, instead, enable you to drive your weight down into the floor for a well-balanced pirouette. Check out all the component parts in my instructional video “Pirouette Class 2.”
 #3 Ears back!